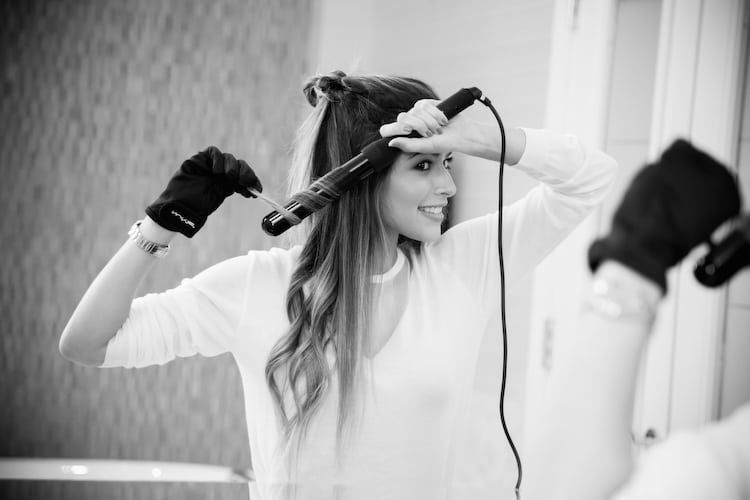
The number one question I get asked all the time is how I curl my hair. Today is your lucky day because I’m sharing all of my secrets, well…not all of them, just my hair secrets ;)
A little background:
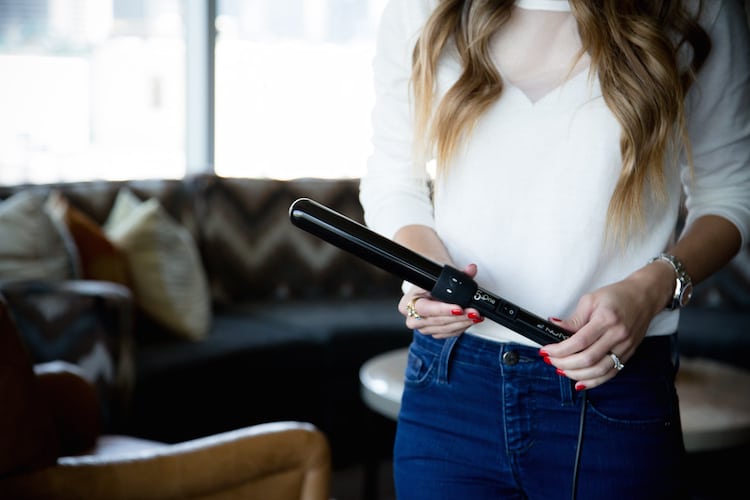
The team at NuMe reached out to me to introduce me to their curling sets. I was already familiar with the brand thanks to watching so many other YouTube vBloggers use their products. I noticed they all raved so much about NuMe and now I know why. I decided to give it a chance, they sent me the LUSTRUM SET almost 2 months ago and I’ve been absolutely loving it. I used to own 3 curling wands and 2 curling irons and several other hot tools and now I can honestly say I just use this set.
I’ve tried all of the barrels for different occasions, but the one I use to get my everyday wavy hair is the biggest barrel of the set. I find that that size gives me the most natural curl.
Now, are you ready? Let’s get started!
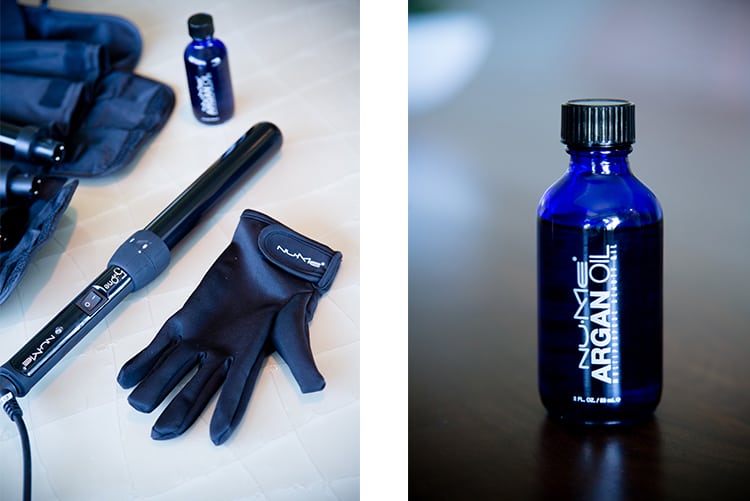
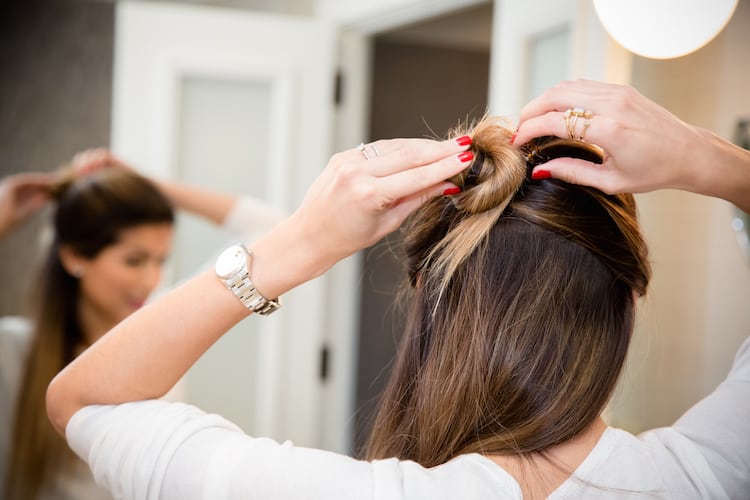
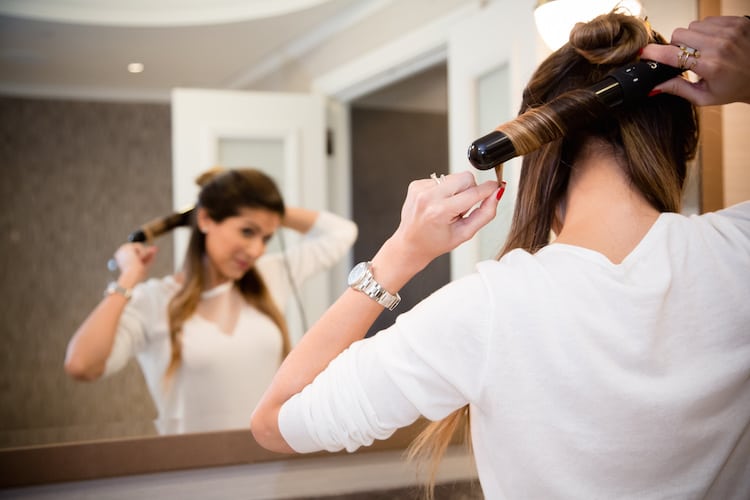
STEP 1: The first step is to prep your hair. I like to put some styling cream/heat protectant on my wet hair, brush it and apply a little bit of their argan oil before blow drying it. Once your hair is dry, start by sectioning off your hair. I grab small pieces of hair like you see in the picture below. Oh, and don’t forget to put your glove on! It comes with the set. Trust me, use it, your fingertips will thank me later.

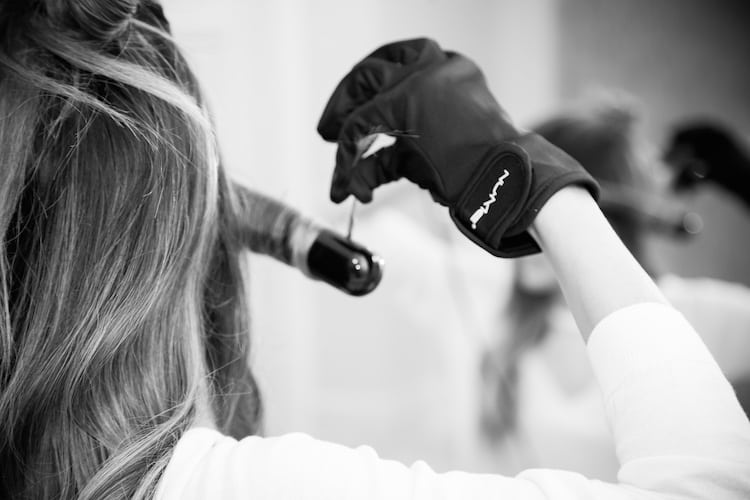
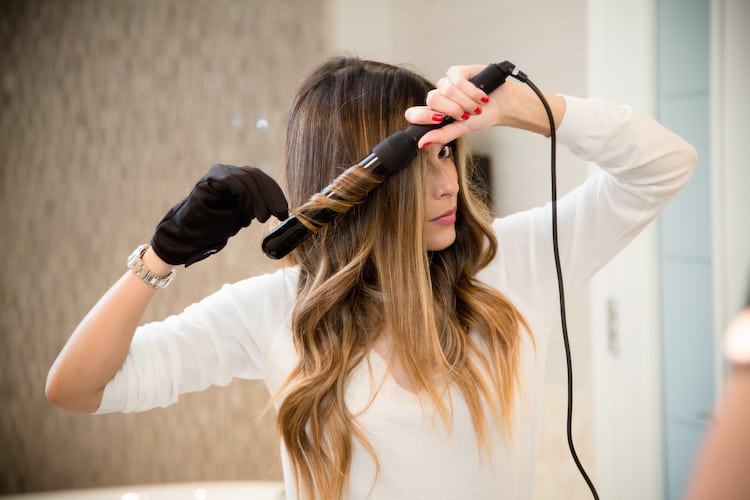
STEP 2: In order to get effortless waves, you need to do 2 things: 1. Curl your hair away from your face. 2. Lay your hair flat against the barrel. 3. Don’t curl the last 2 inches of your hair.
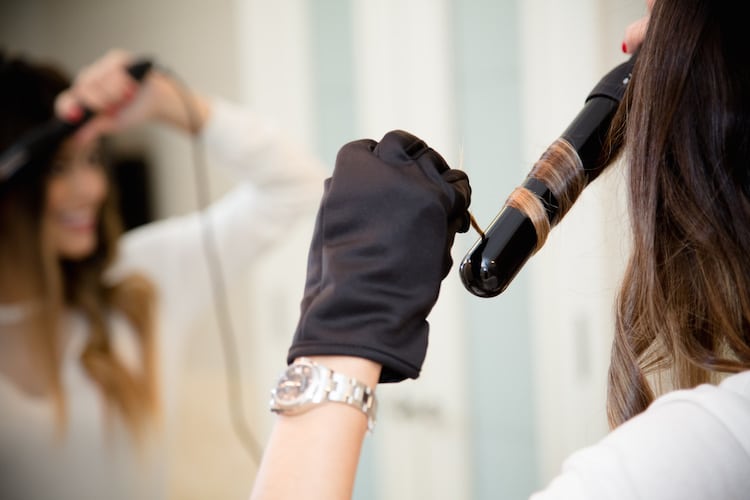
STEP 3: Once you lay your hair flat against the barrel, hold it there for about 10-15 seconds. See pic below.
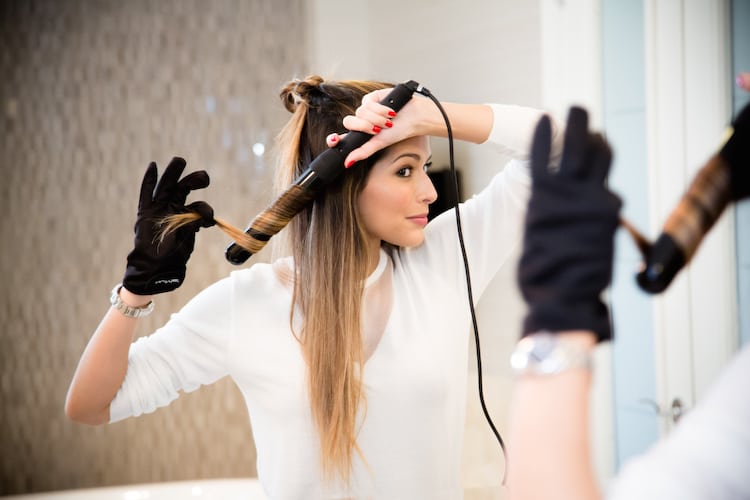
STEP 4: As soon as you release the curl, pull it a little bit for 2-3 seconds. This is a trick I learned from a famous LA stylist on a YouTube video and it really makes a difference. He said this is the trick to get a really effortless looking wave. I don’t know why, but it works.


STEP 5: DON’T TOUCH, yes don’t touch the curls. This is a hard one for me because I REALLY want to touch the curls in between, but trust me on this one. Once you’re done, let the curls set and cool down a little bit. I use this time to put makeup on and to finish getting ready.
STEP 6: Because we are not curling the last 2 inches of our hair it’s important to apply some oil to keep the ends looking soft and smooth. In this case, I’m using NuMe’s argan oil, which can also be used as an anti-frizz serum, heat protectant and adds shine to your hair. I put a little bit of this oil on my hands, rub them together to warm it up, and then run my fingers through my hair.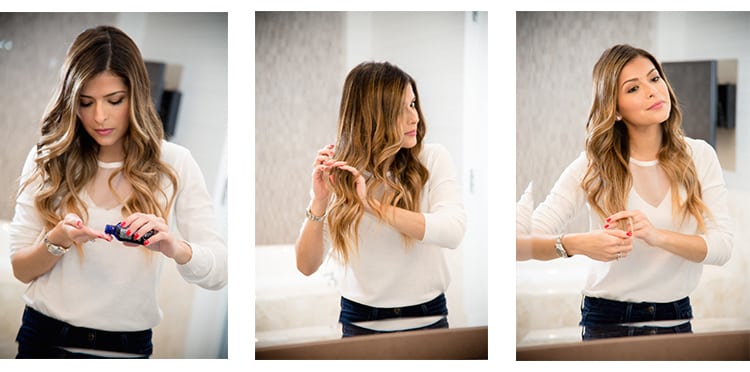
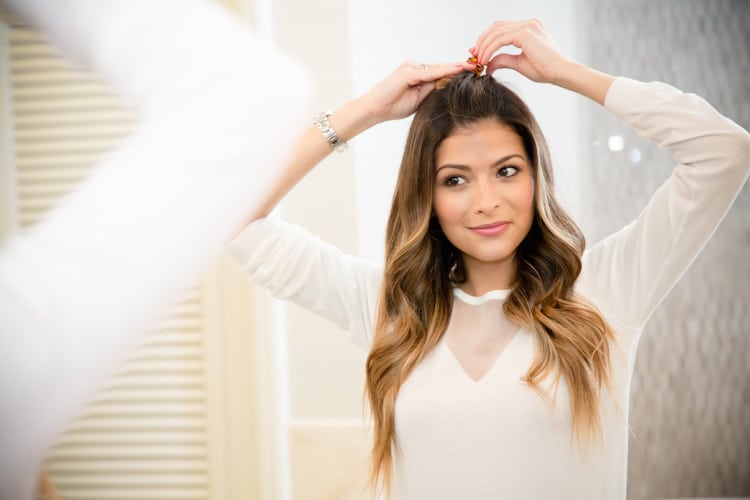
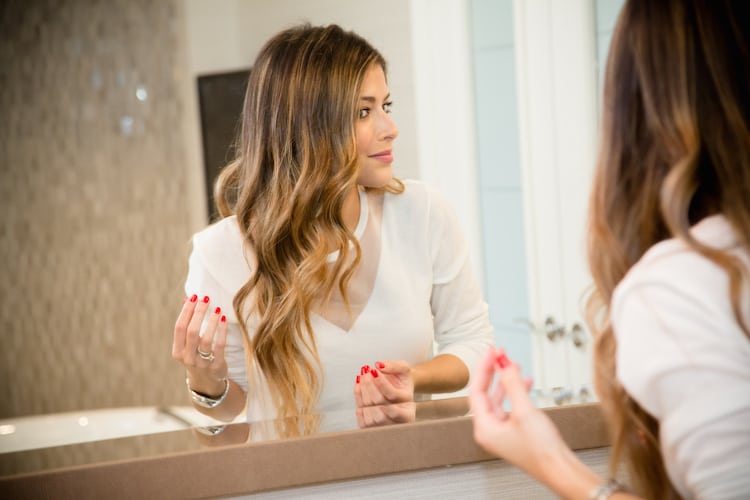
That’s it! You can apply some hairspray if you want. The best thing about this hairstyle is that the second day the hair looks even better. You’ll wake up with messy, effortless waves.

Let me know in the comments below if you have ANY questions about the wand or about the process. Also, please let me know if you would like to see more tutorials or maybe even some videos!
Special thanks to NuMe for sponsoring this post. Also, Thank you so much to The Ritz-Carlton, Boston Common team for letting us shoot this tutorial in their beautiful renovated presidential suite.
Photos by Lisa Richov
//En Español//
Hoy te estoy mostrando como me hago mis ondas naturales. Estoy usando esta tenaza de NuMe que tiene 5 barriles en 1. Normalmente uso el tamaño más grande porque con ese es que me quedan las ondas más naturales.
Ahora empecemos con los pasos!
Paso 1: El primer paso es preparar el cabello. Después de lavarme el cabello, me gusta usar una crema de peinar. También uso un cepillo y me pongo un poquito del aceite de argan de NuMe antes de empezarme a secar el cabello. Cuando el cabello ya está seco, entonces lo dividimos en 2 o 3 partes y agarramos un mechón de cabello pequeño para empezar a hacer las ondas. No te olvides de ponerte el guante que viene con el set para proteger tus dedos! Tenlo por seguro que tus dedos me lo van a agradecer :)
Paso 2: Para que las ondas queden bien naturales, tienes que hacer 3 cosas. 1. Tienes que girar el cabello hacia atrás, es decir, vamos a estar haciendo las ondas hacia afuera. 2. El mechón de cabello tiene que estar plano cuando lo giramos alrededor de la tenaza. 3. Hay que dejar como 2 pulgadas de cabello en las puntas sin ondular.
Paso 3: Sostén el cabello alrededor de la tenaza por 10 a 15 segundos.
Paso 4: Tienes que halar el cabello por 2 or 3 segundas apenas sale de la tenaza para que la onda quede más natural. Eso es un tip que aprendí al ver un video de YouTube en donde un estilista de Los Angeles explicaba que eso ayuda a que la onda se va más relajada. También dijo que ese es el truco que usa con todas las actrices! Ya verás que si funciona :)
Paso 5: No toques las ondas! Espera que termines de ondular todo el cabello. Lo mejor es esperar que el cabello vuelva a su temperatura normal. Para matar un poco de tiempo lo que hago es ponerme mi maquillaje y terminarme de vestirme.
Paso 6: Como no estamos ondulando las puntas, hay que ponerse un poquito de este aceite de argan para que las puntas se vean lisas y sanas. Este aceite de argan de NuMe es muy bueno ya que también protege el cabello y actúa como un anti-frizz.
Eso es todo! Si quieres te puedes aplicar un poco de spray.
Get The Look

Las fotos por Lisa Richov.
Gracias por visitar!

