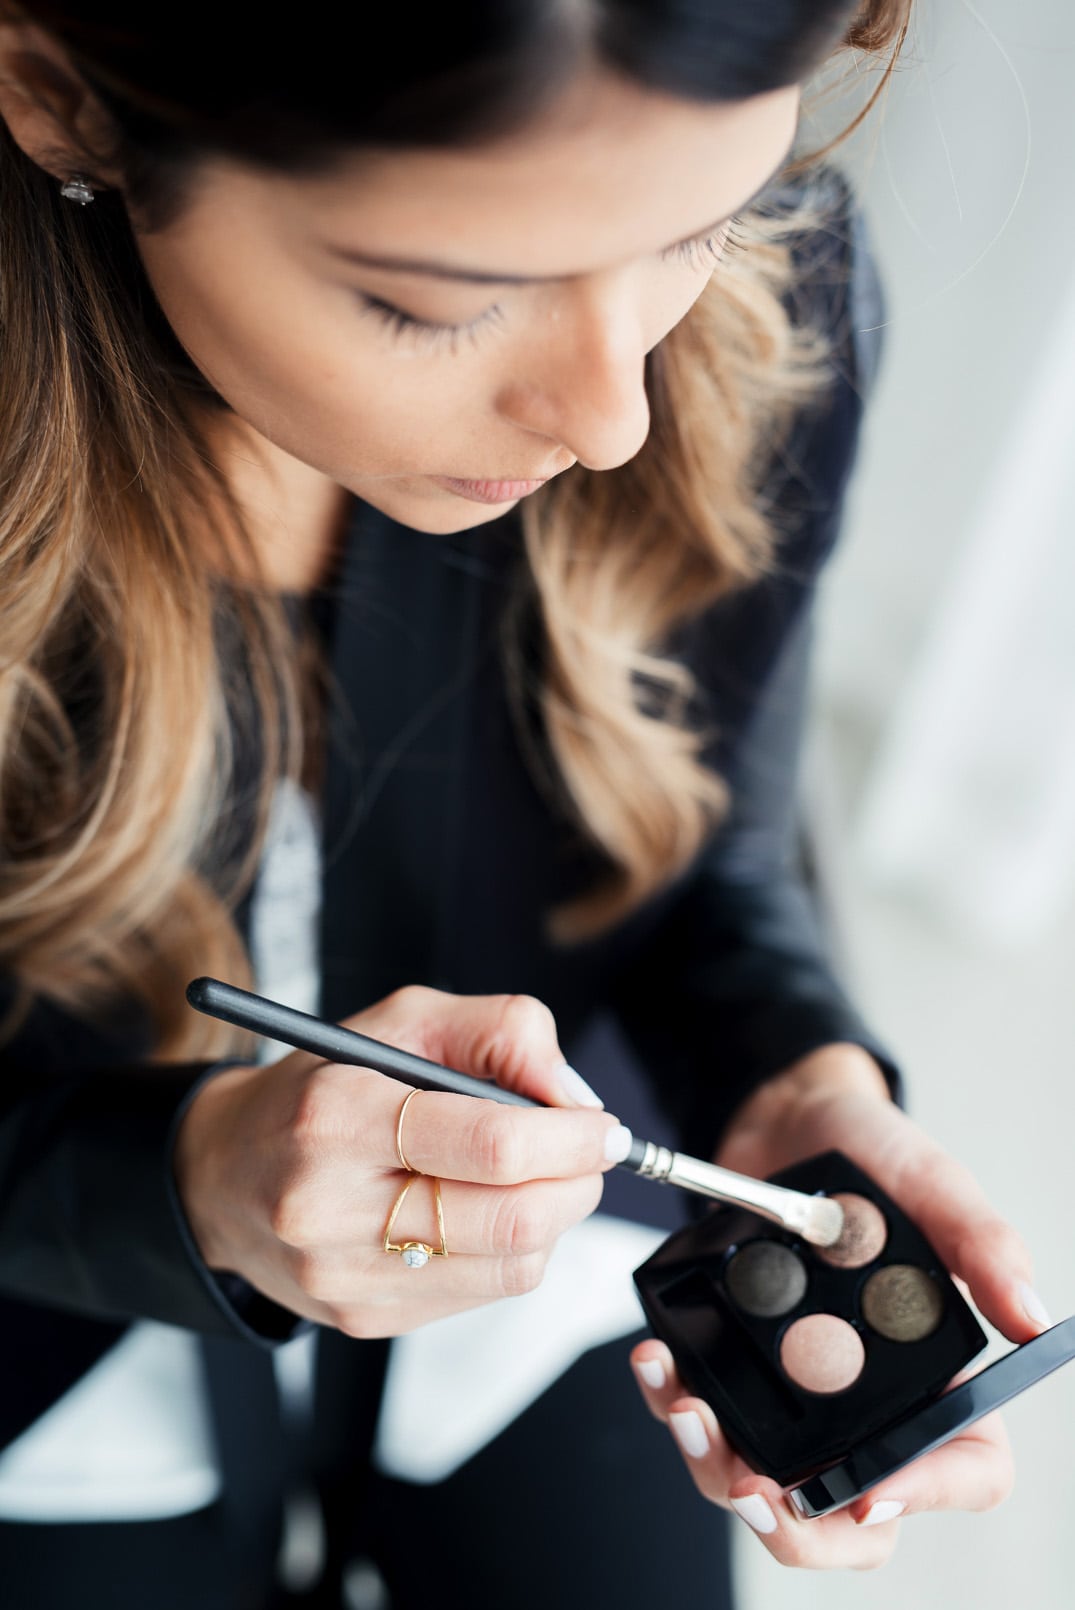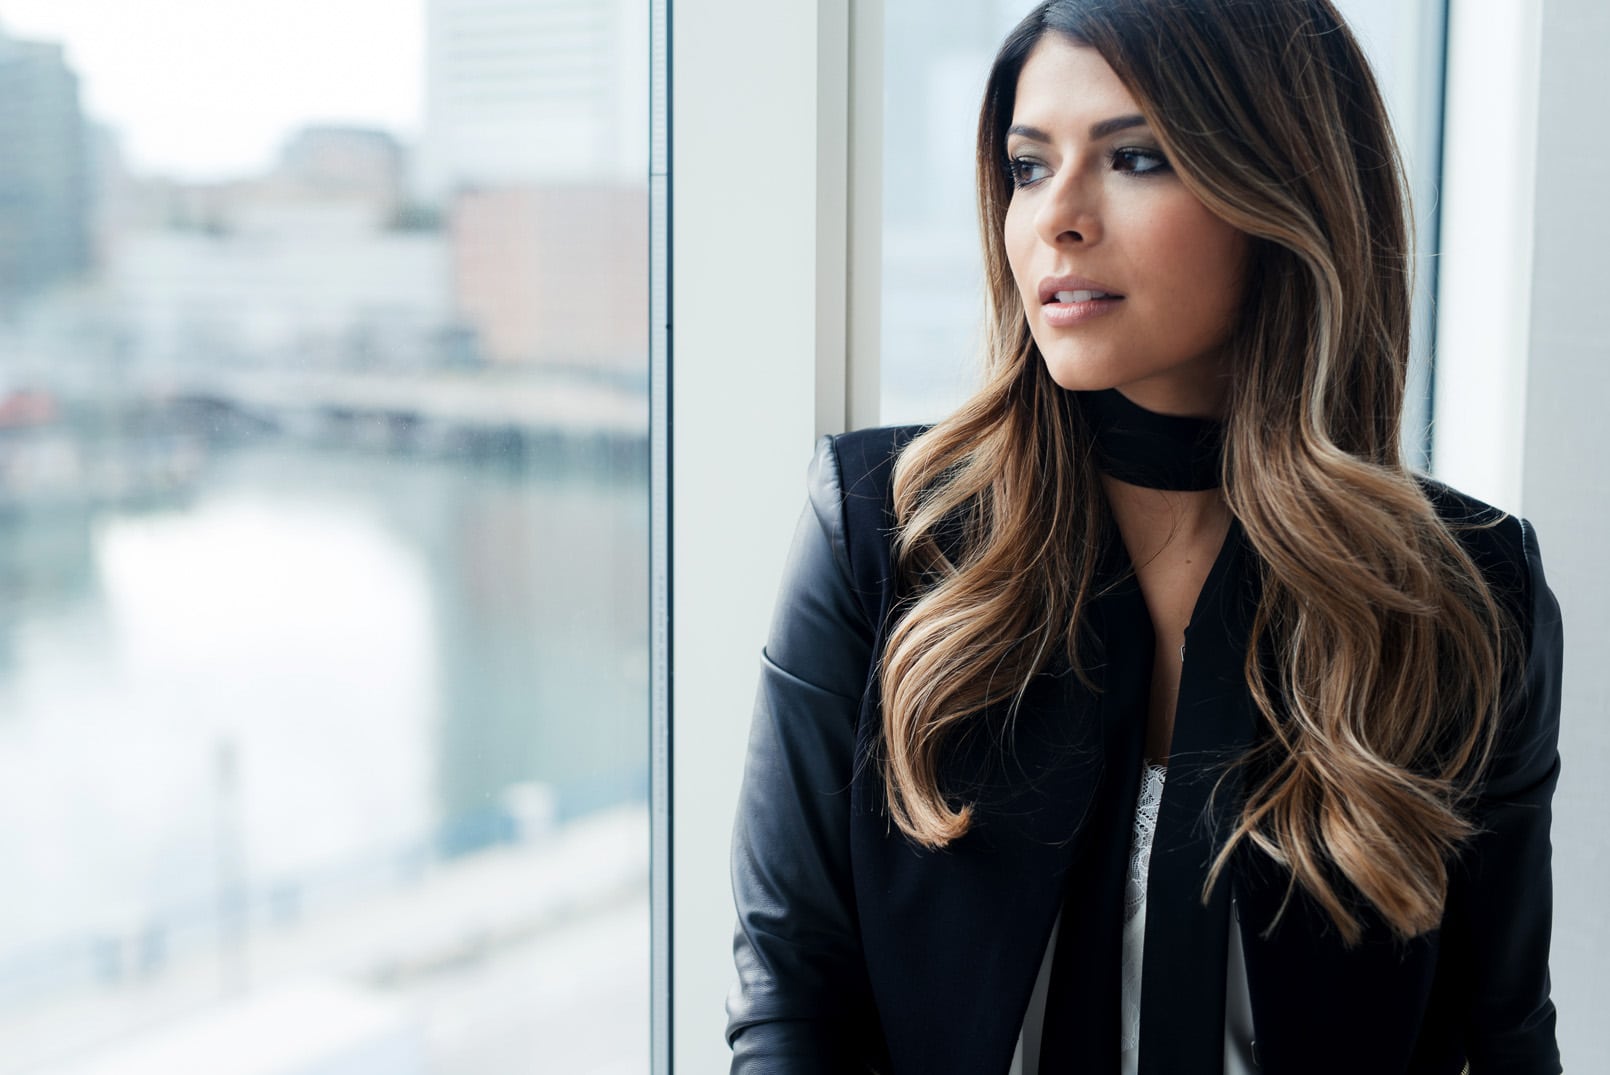
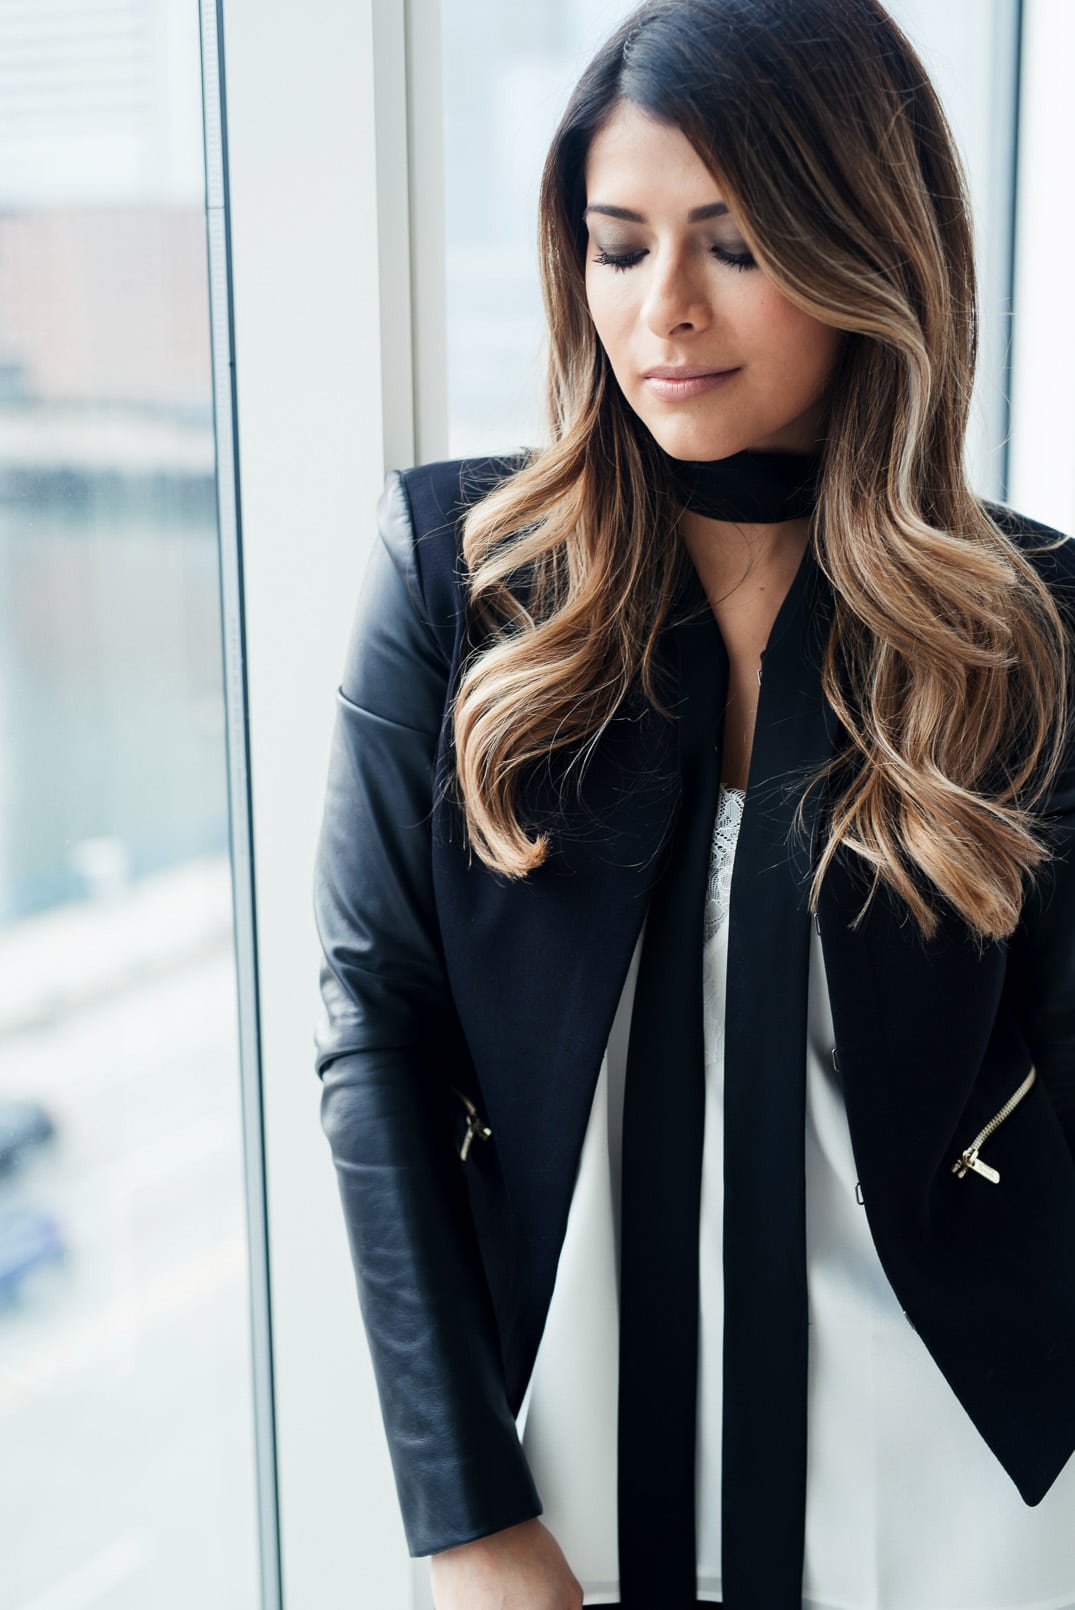
In yesterday’s post, I shared an easy outfit idea for Valentine’s day, but we all know that no outfit is complete without makeup. Today’s tutorial with Chanel is about how to create the perfect Valentine’s day makeup. Keep reading to learn how to recreate this look.
En el post de ayer, compartí un look fácil de recrear para el día de San Valentín, pero todos sabemos que sin maquillaje el look no se vería completo. El tutorial de hoy con Chanel es sobre cómo crear el maquillaje perfecto para el día de San Valentín. Sigue leyendo para aprender cómo recrear este look.
Valentine’s Day Makeup Tutorial
Step 1 – Prep you skin:
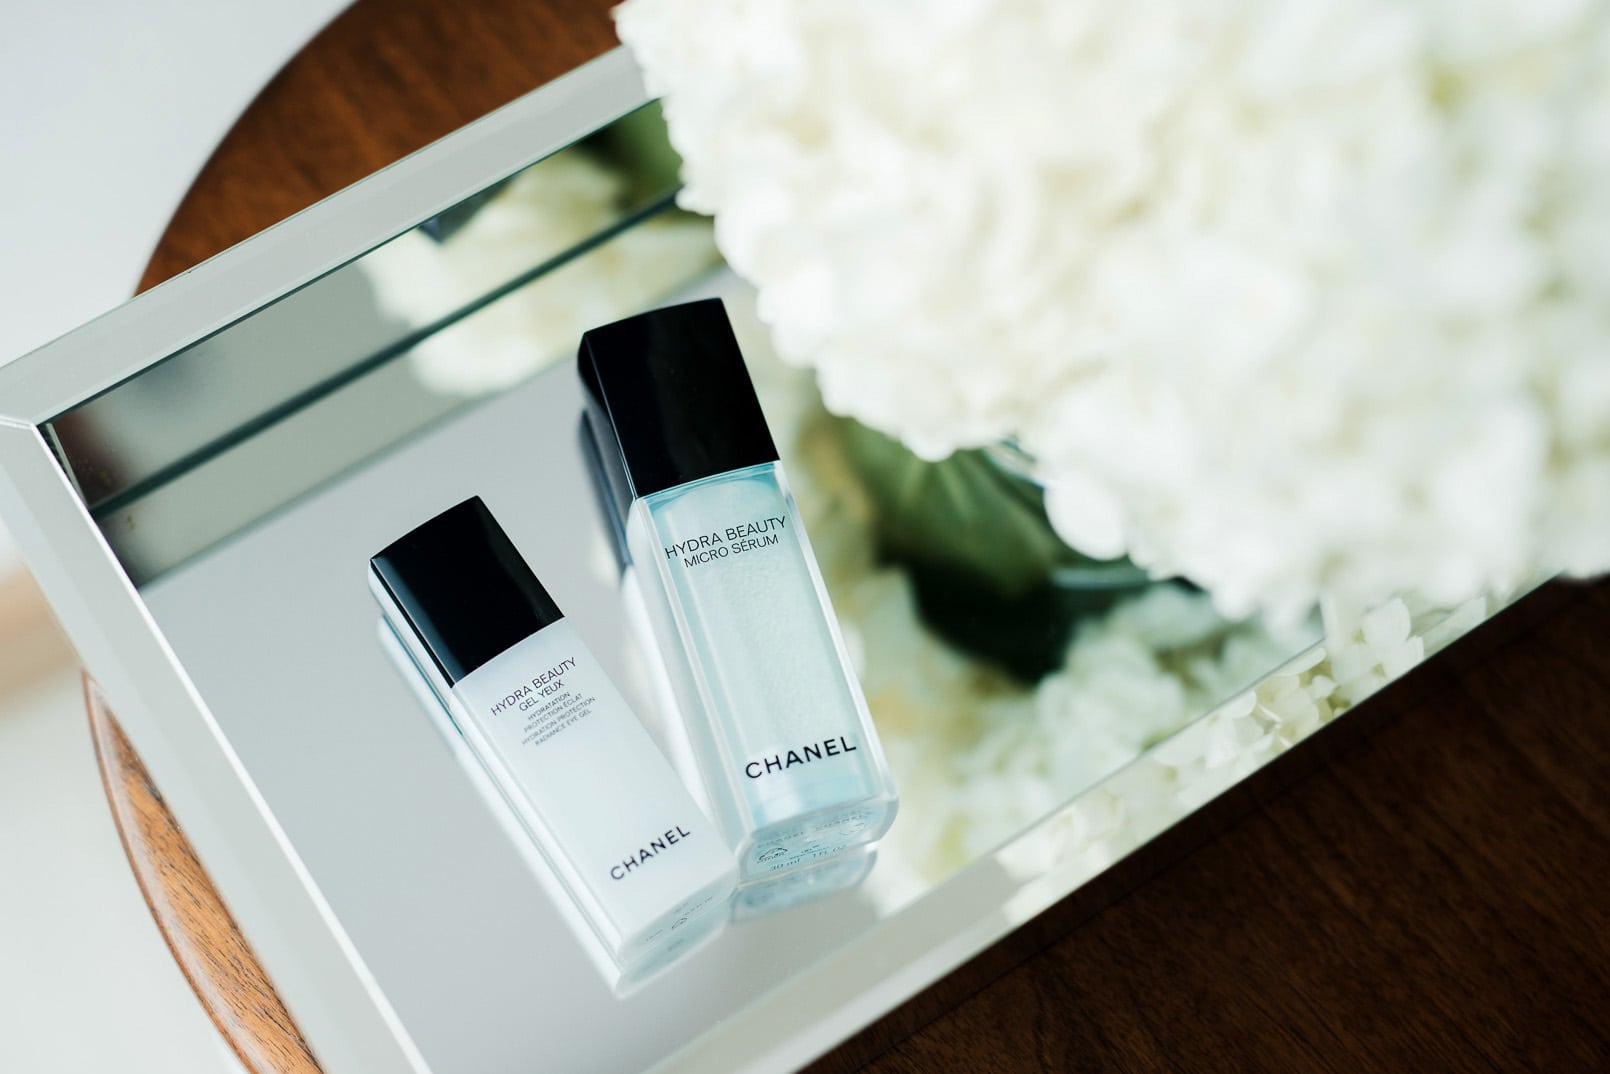
I prepared my skin with Chanel’s Hydra Beauty Micro Serum. This product absorbs completely into your skin leaving it soft and ready for makeup application. Next, I applied the Hydra Beauty Gel Yeux around my eyes to keep this area very hydrated.
Preparé mi piel con el Hydra Beauty Micro Serum. Este producto se absorbe completamente en la piel dejándola suave y lista para la aplicación de maquillaje. Luego, apliqué el Hydra Beauty Gel Yeux alrededor de mis ojos para mantener esta zona muy hidratada.
Step 2 – Base:
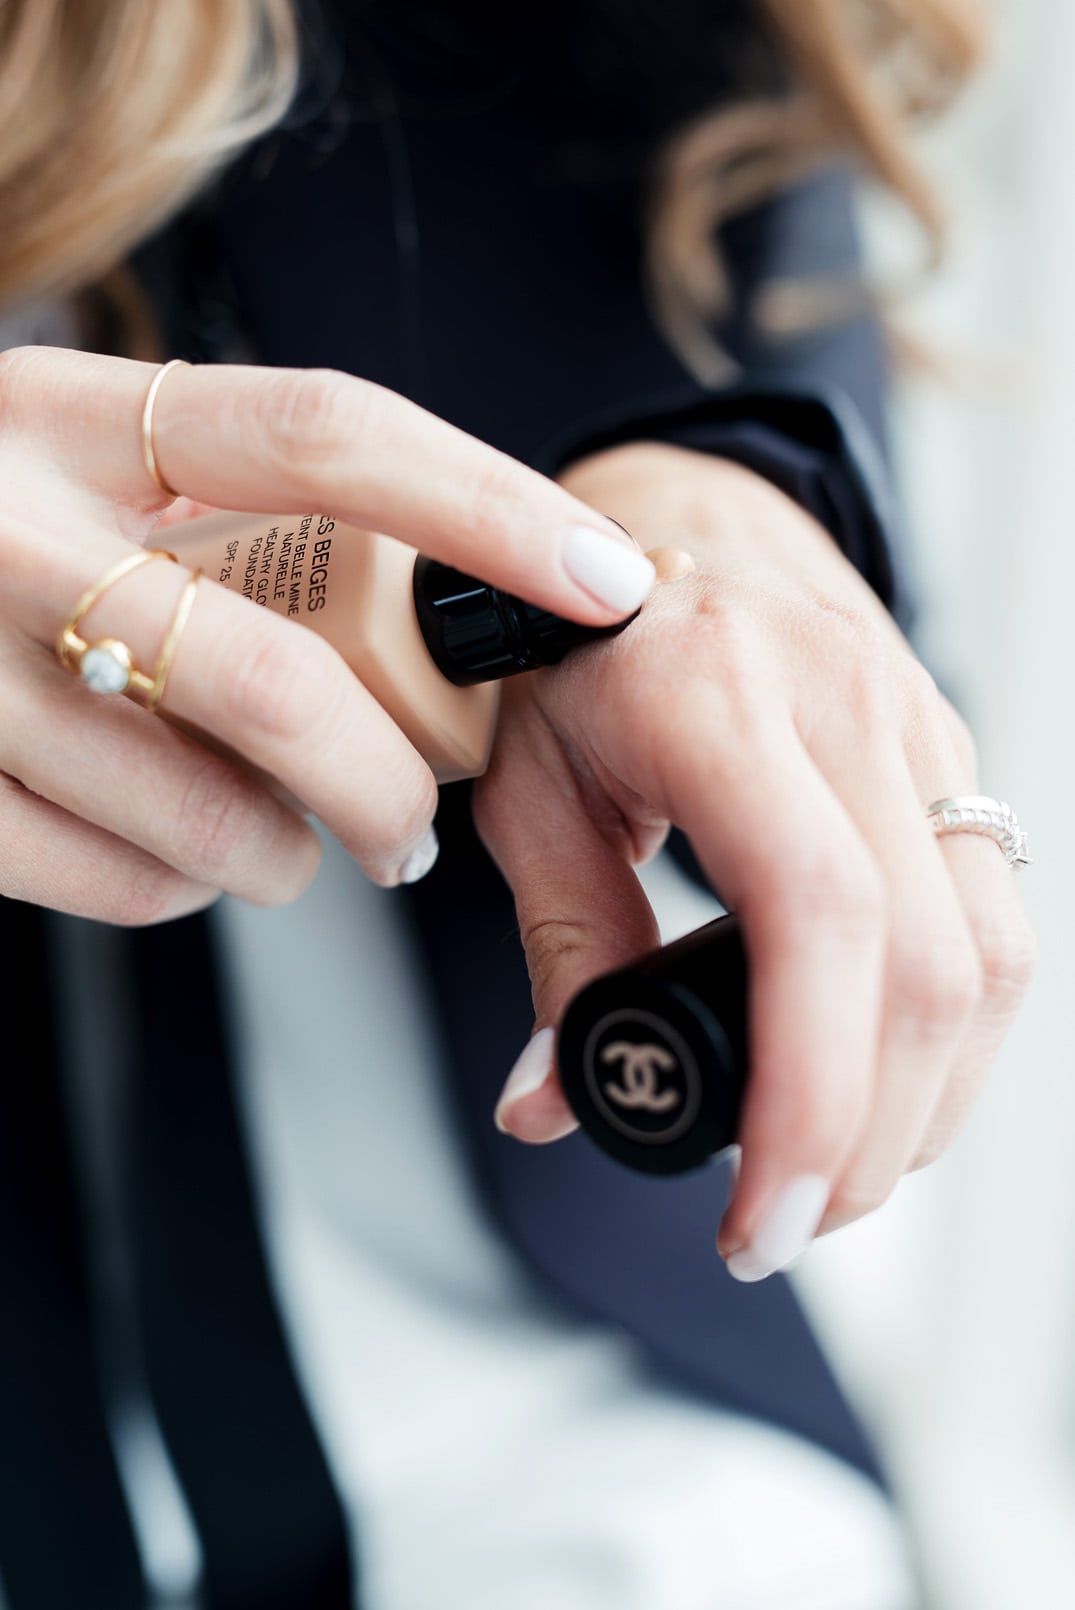
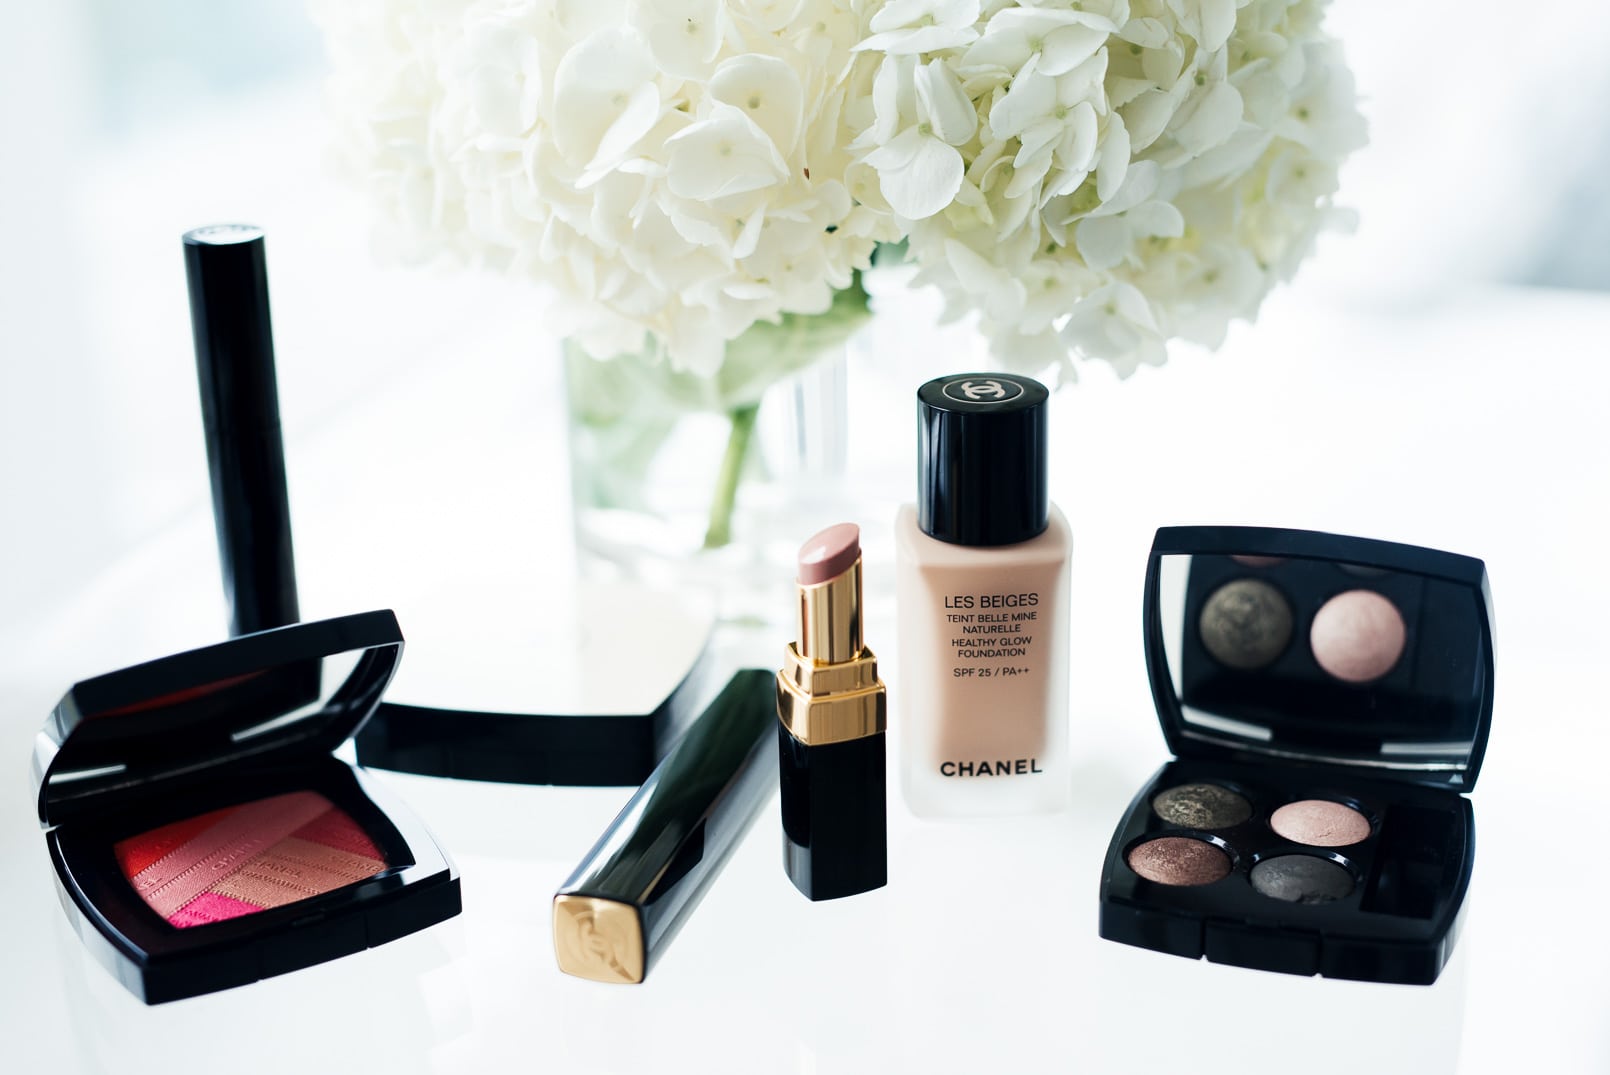
I applied Les Beiges Healthy Glow Foundation (mine is in color #40). This new foundation might be my favorite Chanel foundation ever. It goes on creamy and dries beautifully, giving you a healthy, dewy finish. Because of the texture, you can easily apply this foundation with your fingers. It also has SPF 25! (p.s this foundation will be available in mid-March).
Me puse la base Les Beiges Healthy Glow Foundation (la mía es en el color #40). Se siente cremosa y se seca perfectamente, dándole a tu piel un acabado glowy. Por su textura, se puede aplicar fácilmente con las yemas de los dedos. También tiene SPF 25! (Esta base estará disponible a mediados de marzo).
Step 3 – Set:
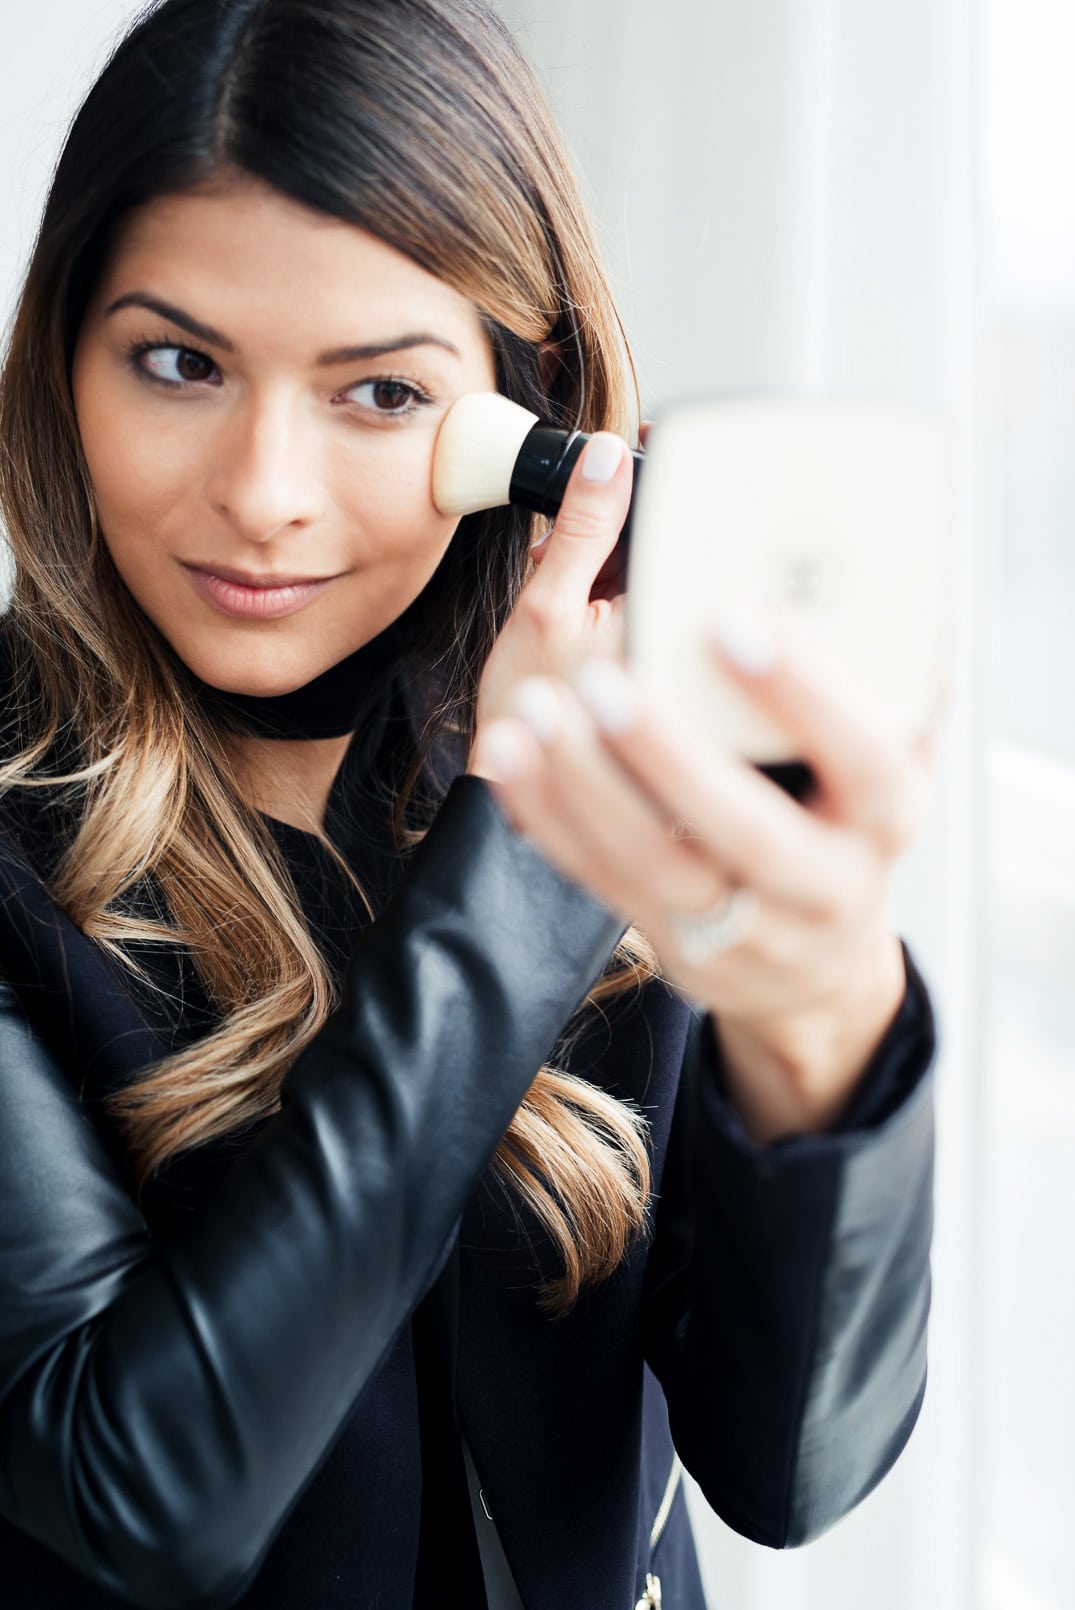
I used Les Beiges in Powder to set the foundation. I love this powder because you can use it all over your face and it also works great for contouring.
Me puse Les Beiges en Polvo encima de la base. Me encanta este polvo porque se puede usar solo, encima de la base o también para un efecto contouring.
Step 4 – Eyes:
In this tutorial, I’m using the Les 4 Ombres Tissé D’Autonme. I’m obsessed with the colors in this palette because they are very versatile.
Las sombras que estoy usando son las Les 4 Ombres Tissé D’Autonme. Me encantan los colores de esta paleta por que son muy versátiles.
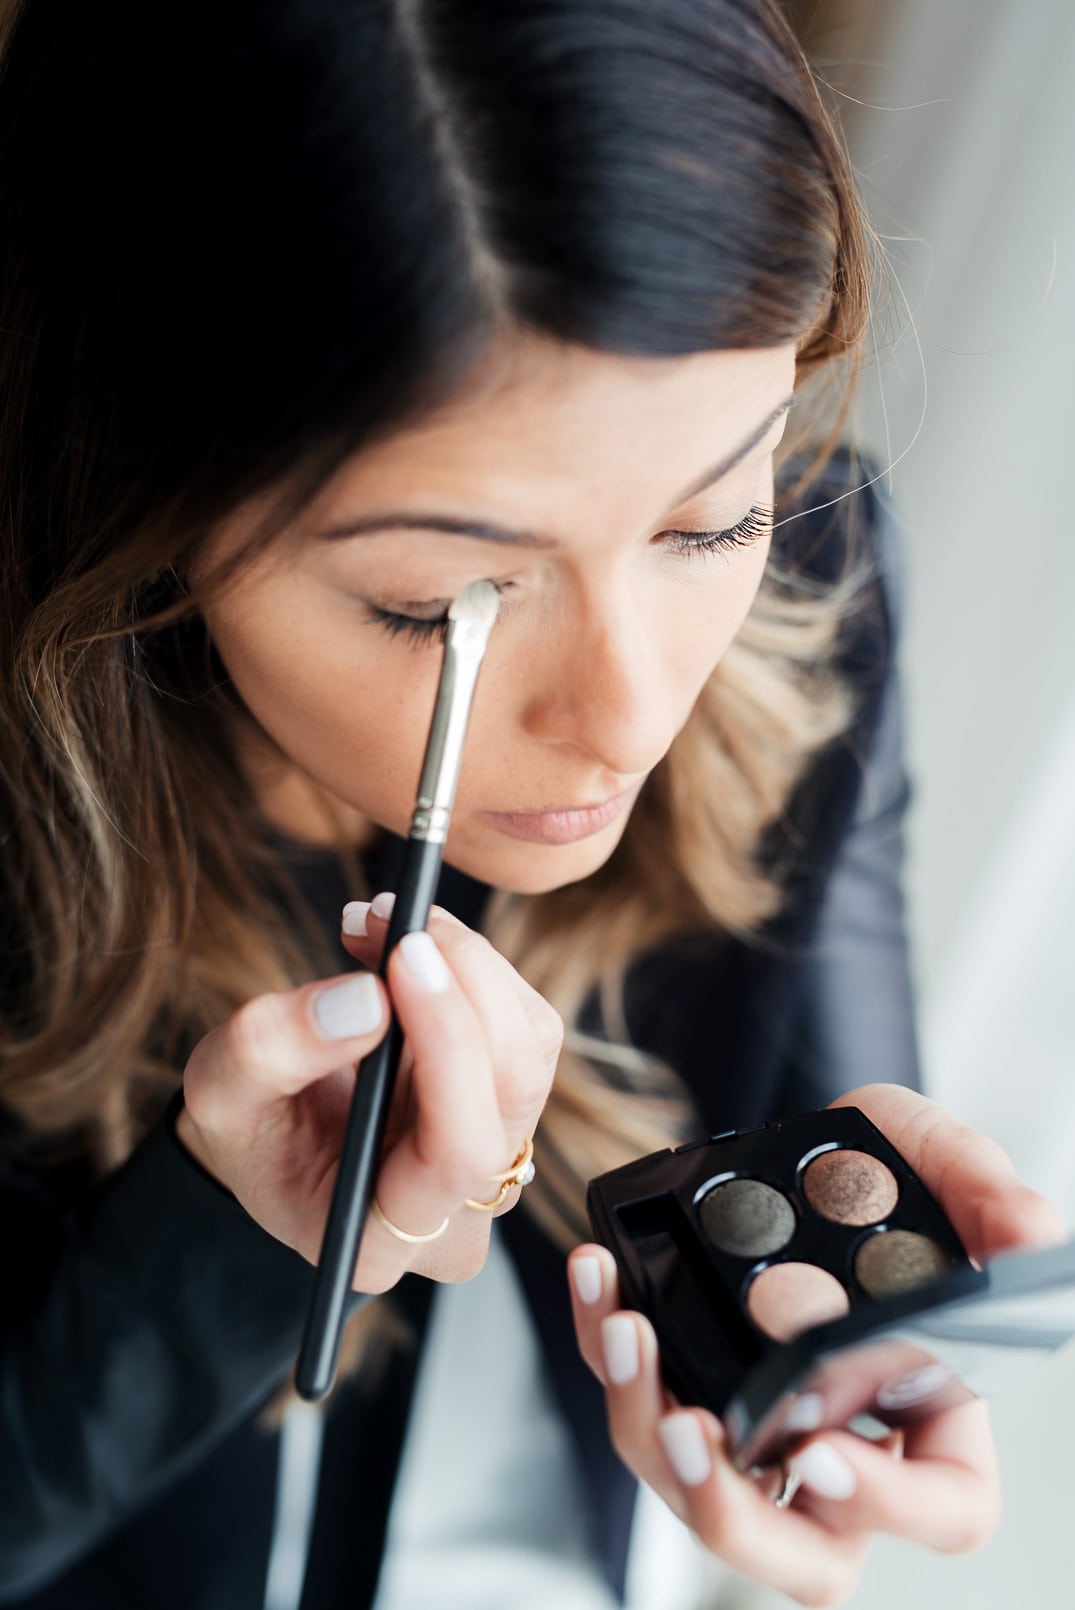
First, I applied a mix of the ombre shadow (bottom left) and intensify (bottom right) on my lid.
Primero, me puse el color ombre (abajo en al derecha) y lo mezclé con intensify (arriba en la derecha) en mis párpados.
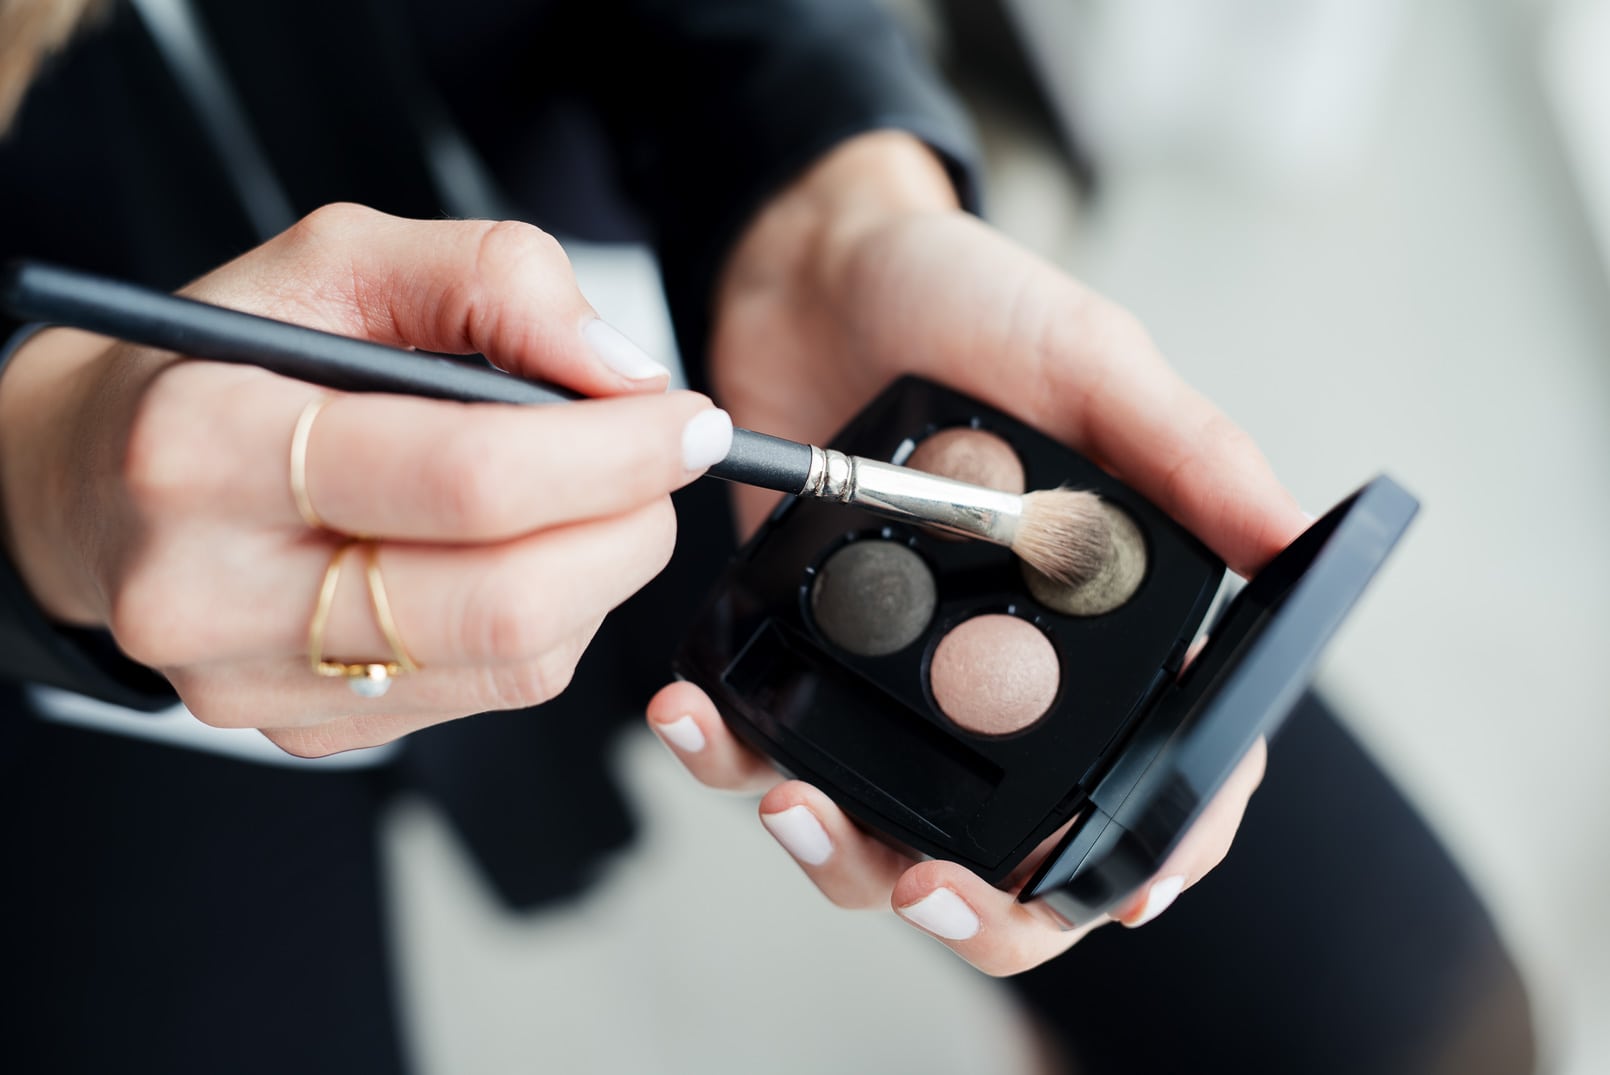
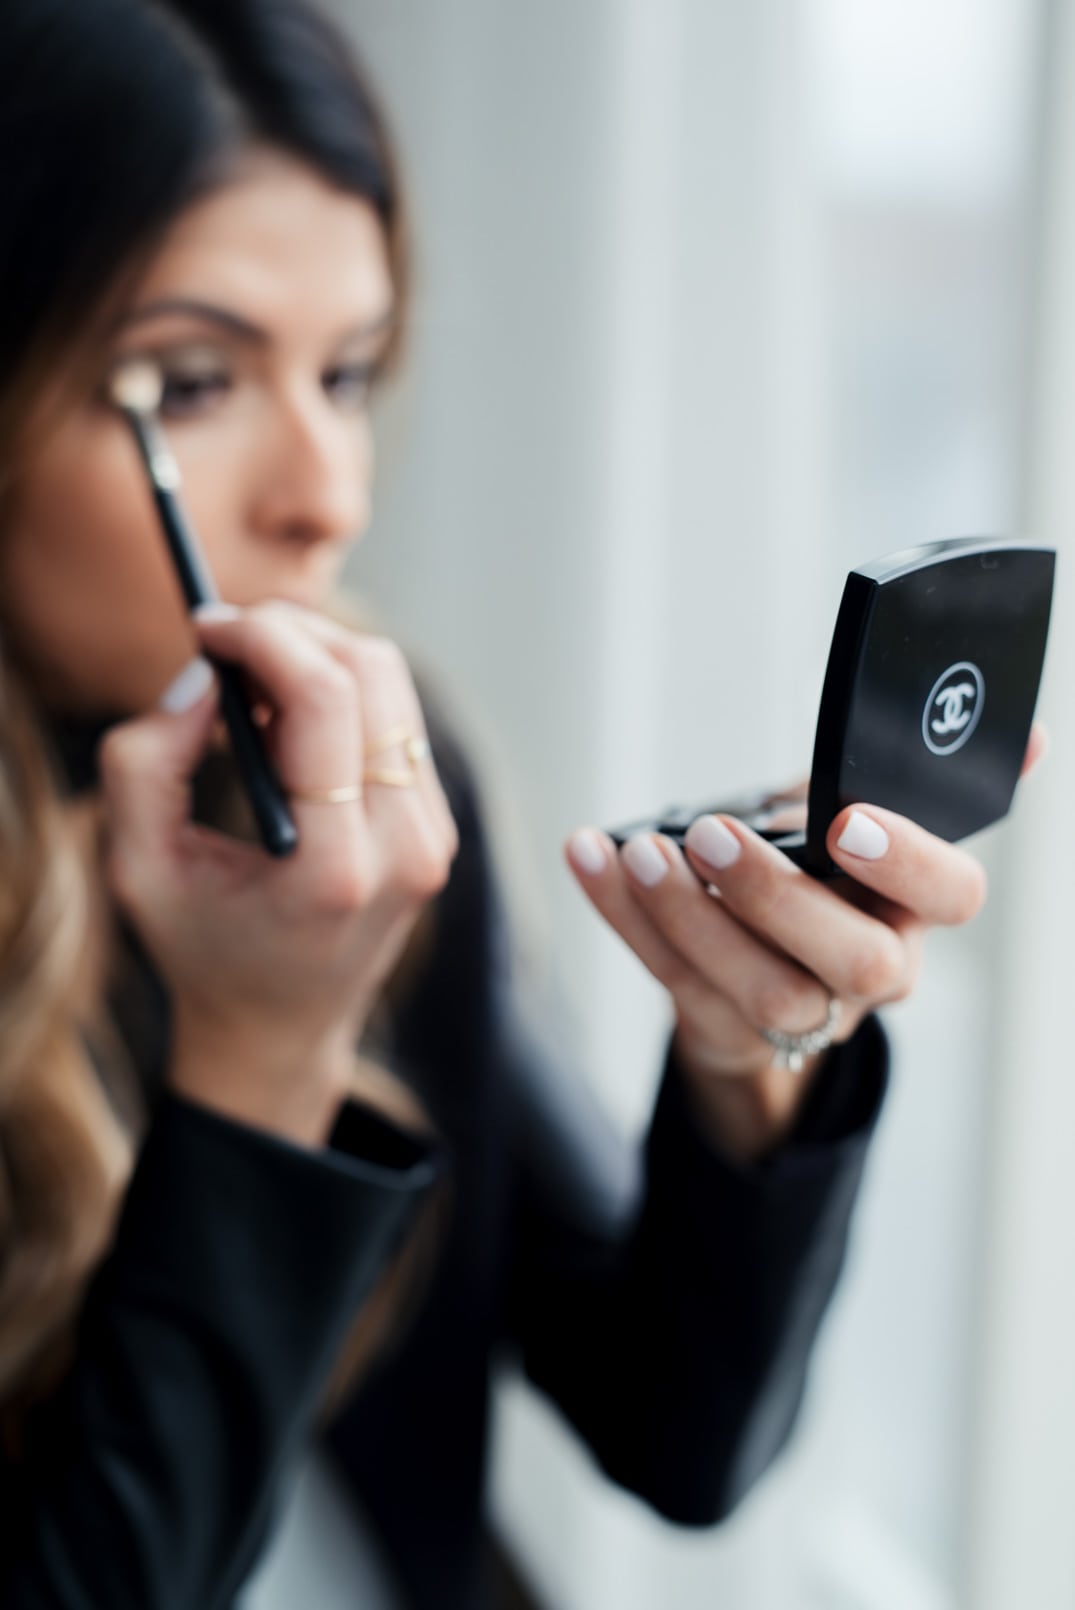
Second, I used a little bit of the ombre shadow (top left) and I blended it into my crease. Remember to blend and blend until you get rid off any harsh lines.
Segundo, apliqué ombre (arriba en la izquierda) y lo difuminé en el arco o pliegue del ojo. Acuéndense de difuminar bastante para eliminar cualquier exceso de sombra.
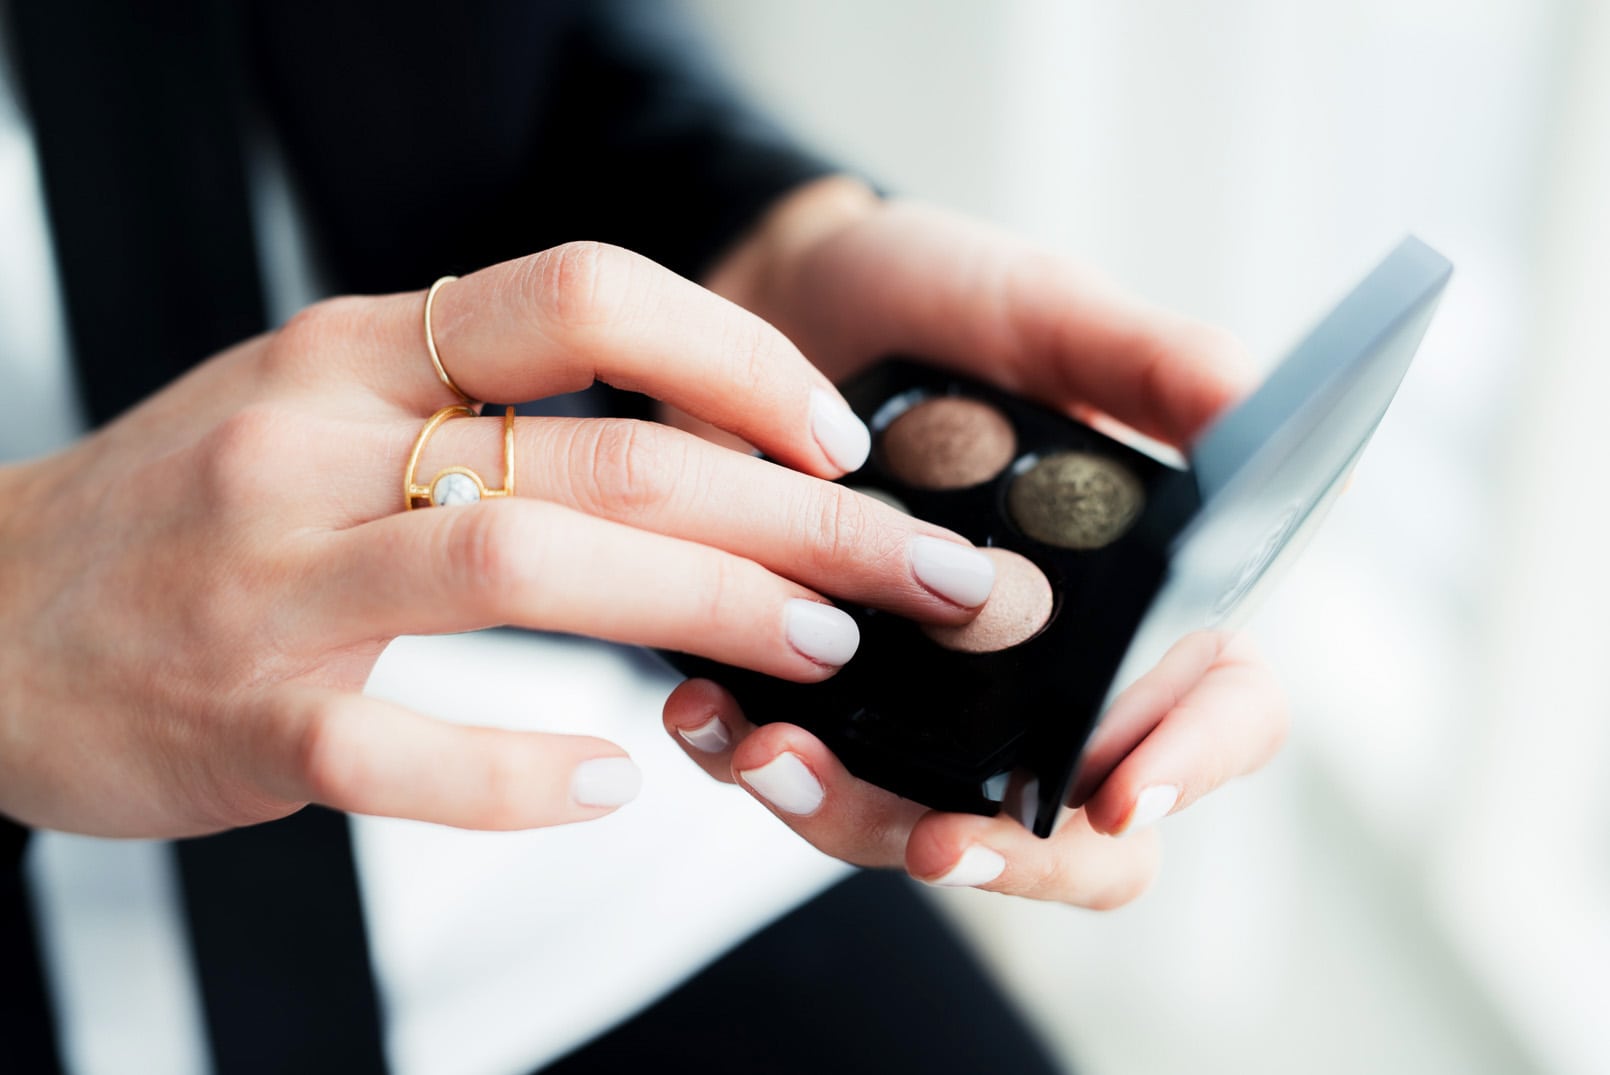
Third, pat your finger in the highlight shadow (top right) and dab the color on the inner corner of your eyes.
Con el dedo agarra un poquito de la sombra highlight y aplícala en la esquina interior de tu ojo.
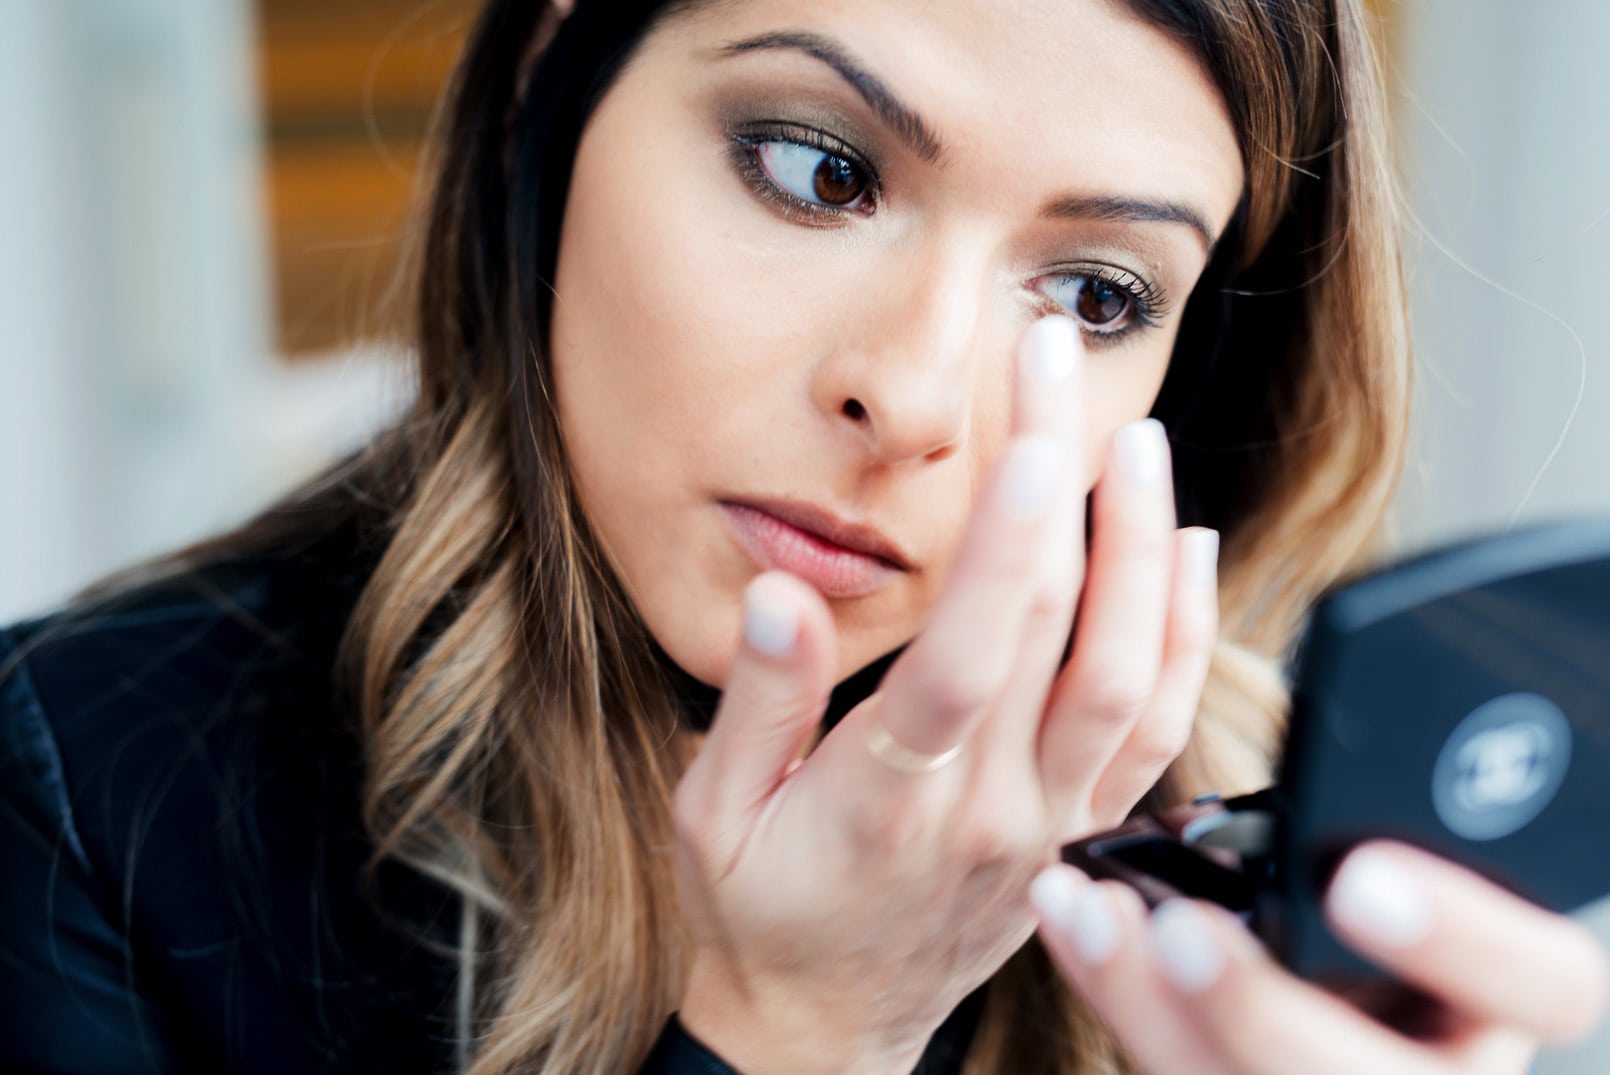
I love applying a light color to the inner corners of my eyes to brighten my face.
Me gusta aplicar una sombra iluminadora en las esquinas interiores de mis ojos para iluminar mi cara.
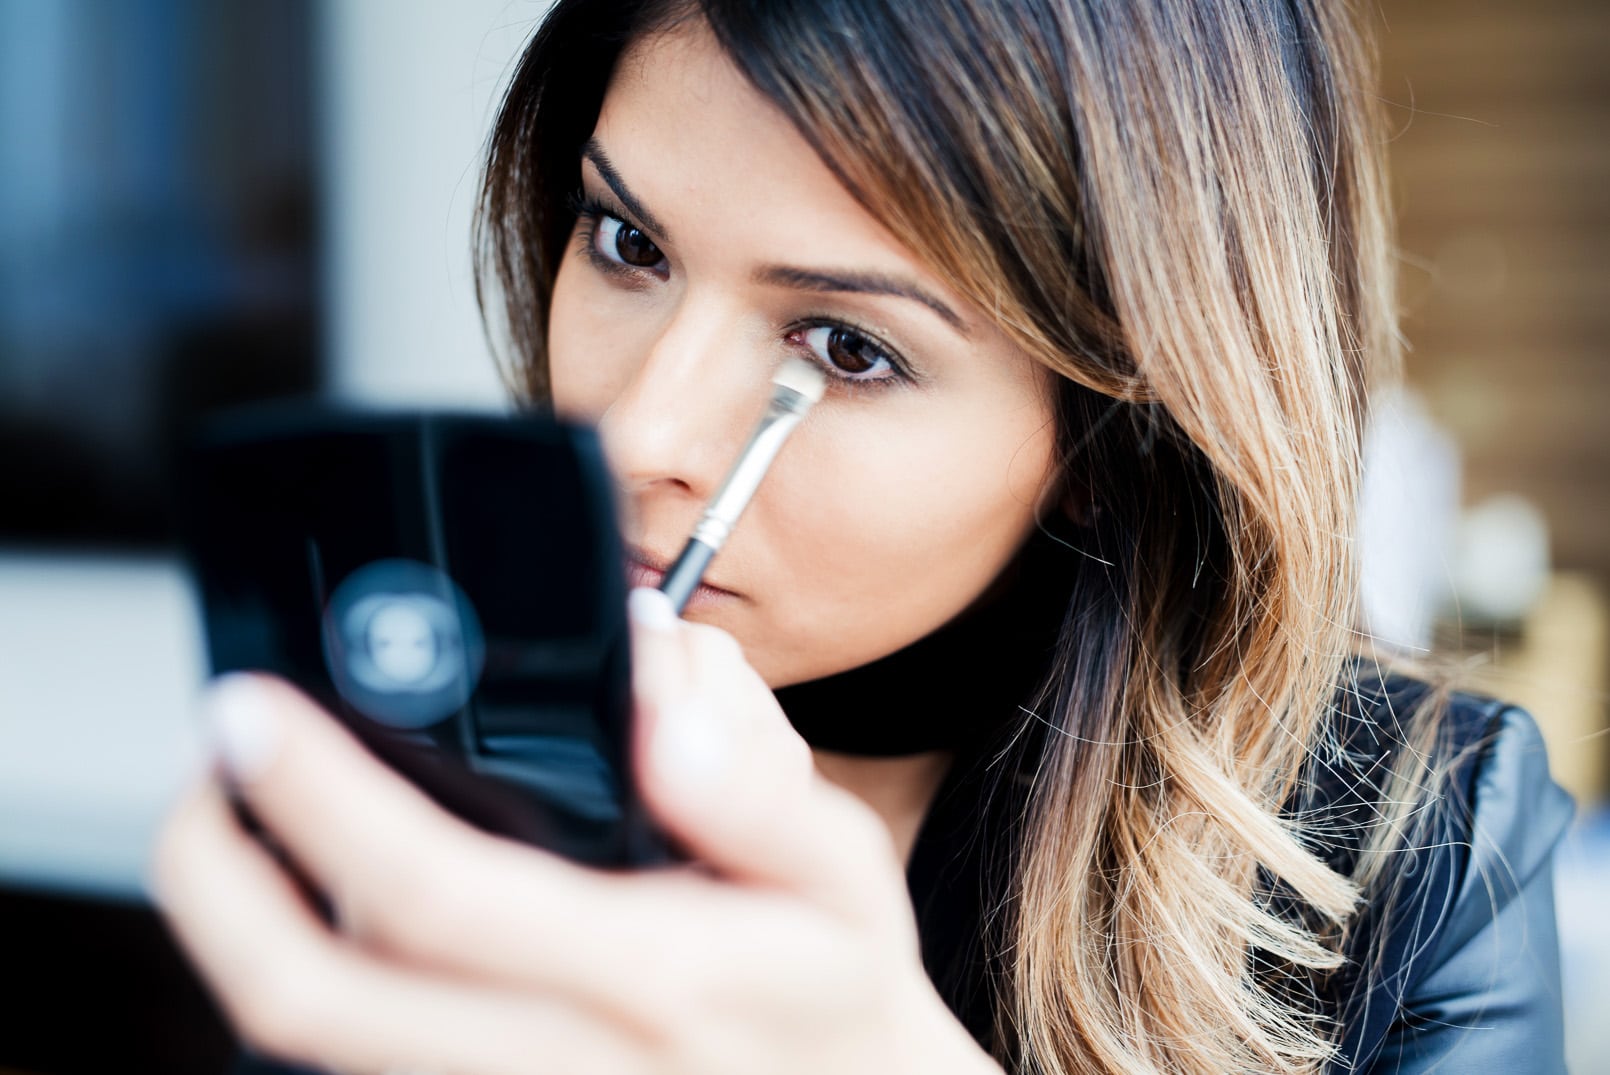
Fourth, apply a little bit of the ombre shadow (bottom left) with a flat brush under your bottom lashes. Then smudge with your finger to make the line less severe.
Cuarto, aplica un poco de sombra ombre (abajo a la izquierda) con un pincel plano en el párpado inferior.
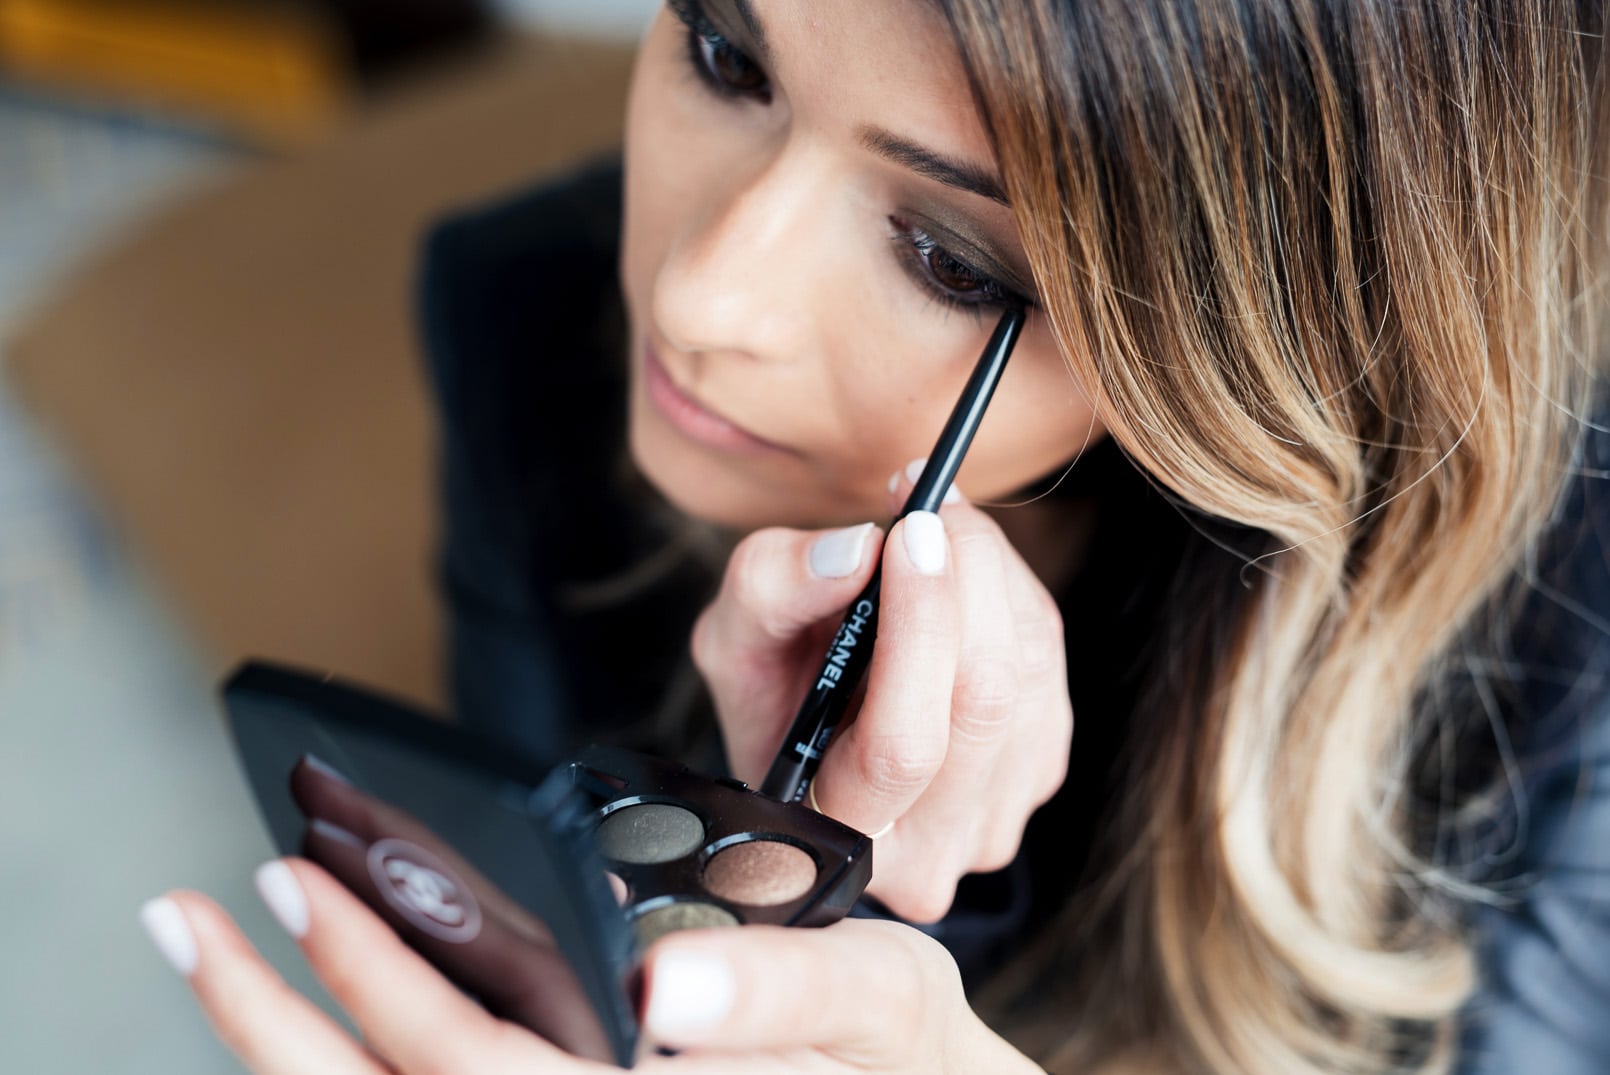
Next, I used the Stylo Yeux Waterproof eyeliner in Pomme de Pin to accentuate the entire look.
El próximo paso es el delineador. Aquí estoy usando Stylo Yeux Waterproof eyeliner en Pomme de Pin.
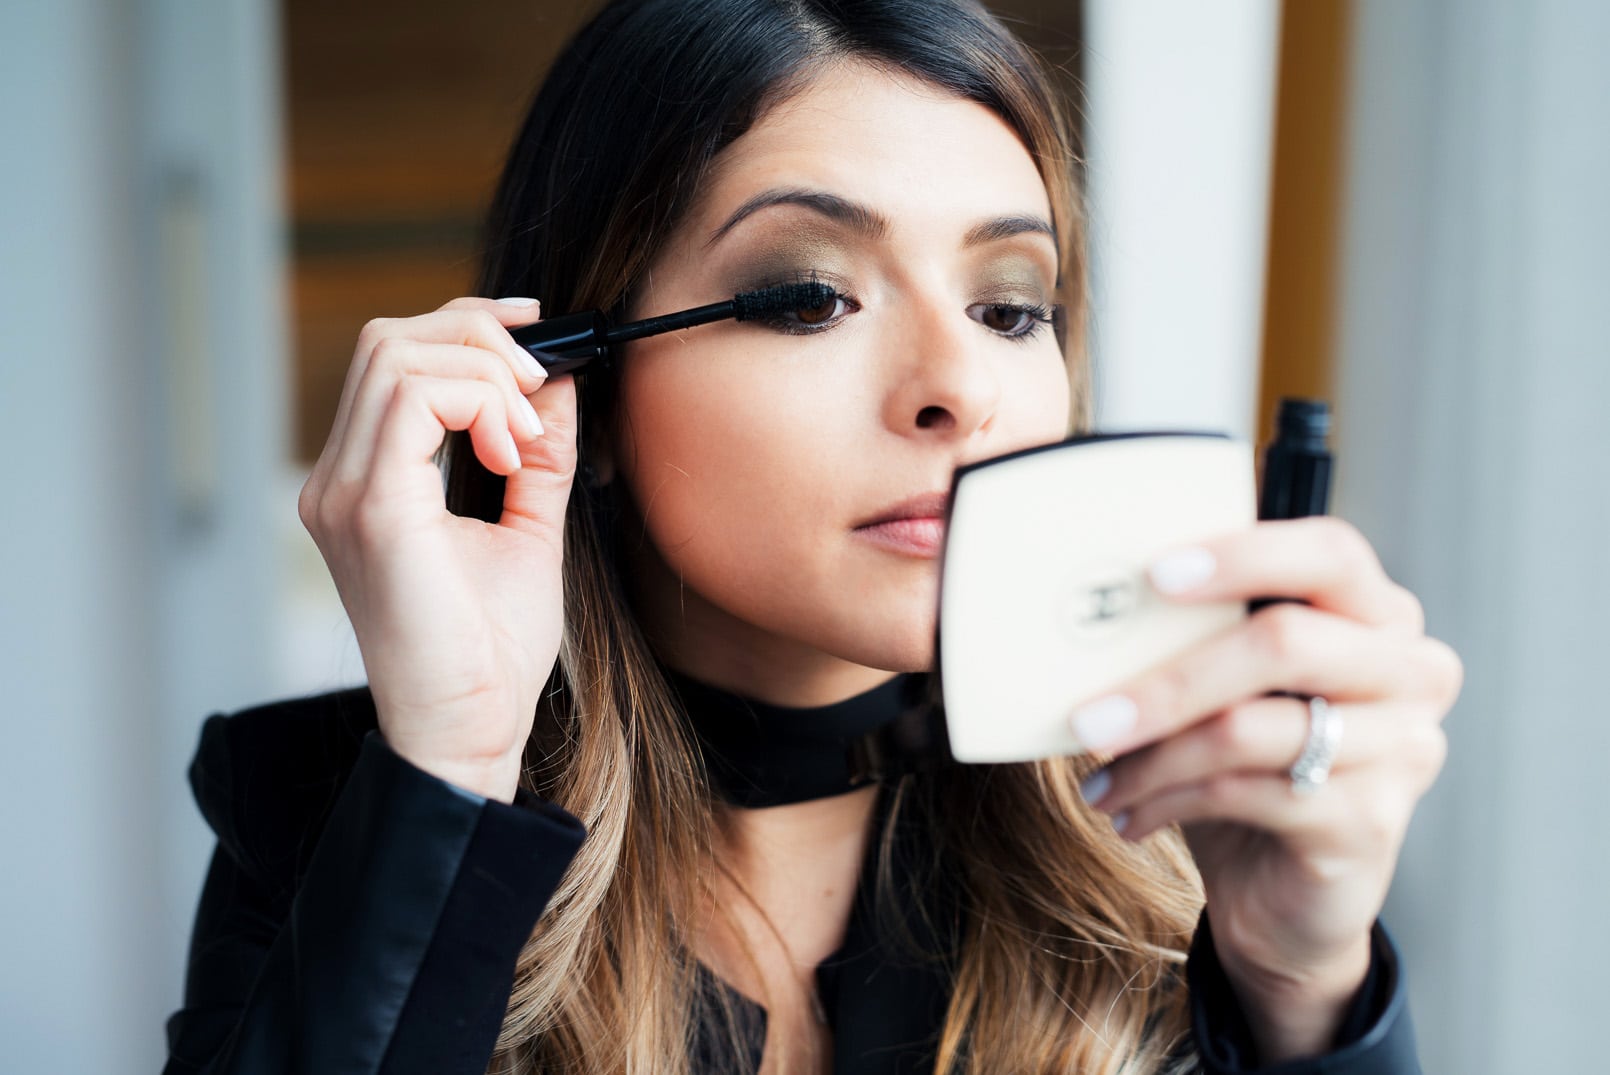
I also curled my lashes with Le Recourse Cils (Chanel’s eyelash curler) to prep them before applying one of my favorite mascaras, the Le Volume Ultra Noir. This is the perfect mascara for Valentine’s Day! It makes your eyes look bigger!
Aquí estoy usando el rizador de pestañas de Chanel para preparar las pestañas antes de aplicar la mascara Le Volumen Ultra Noir. Esta es la mascara perfecta para el Día de San Valentín! Esto hará que tus ojos se vean más grandes y expresivos!
Step 4 – Blush:
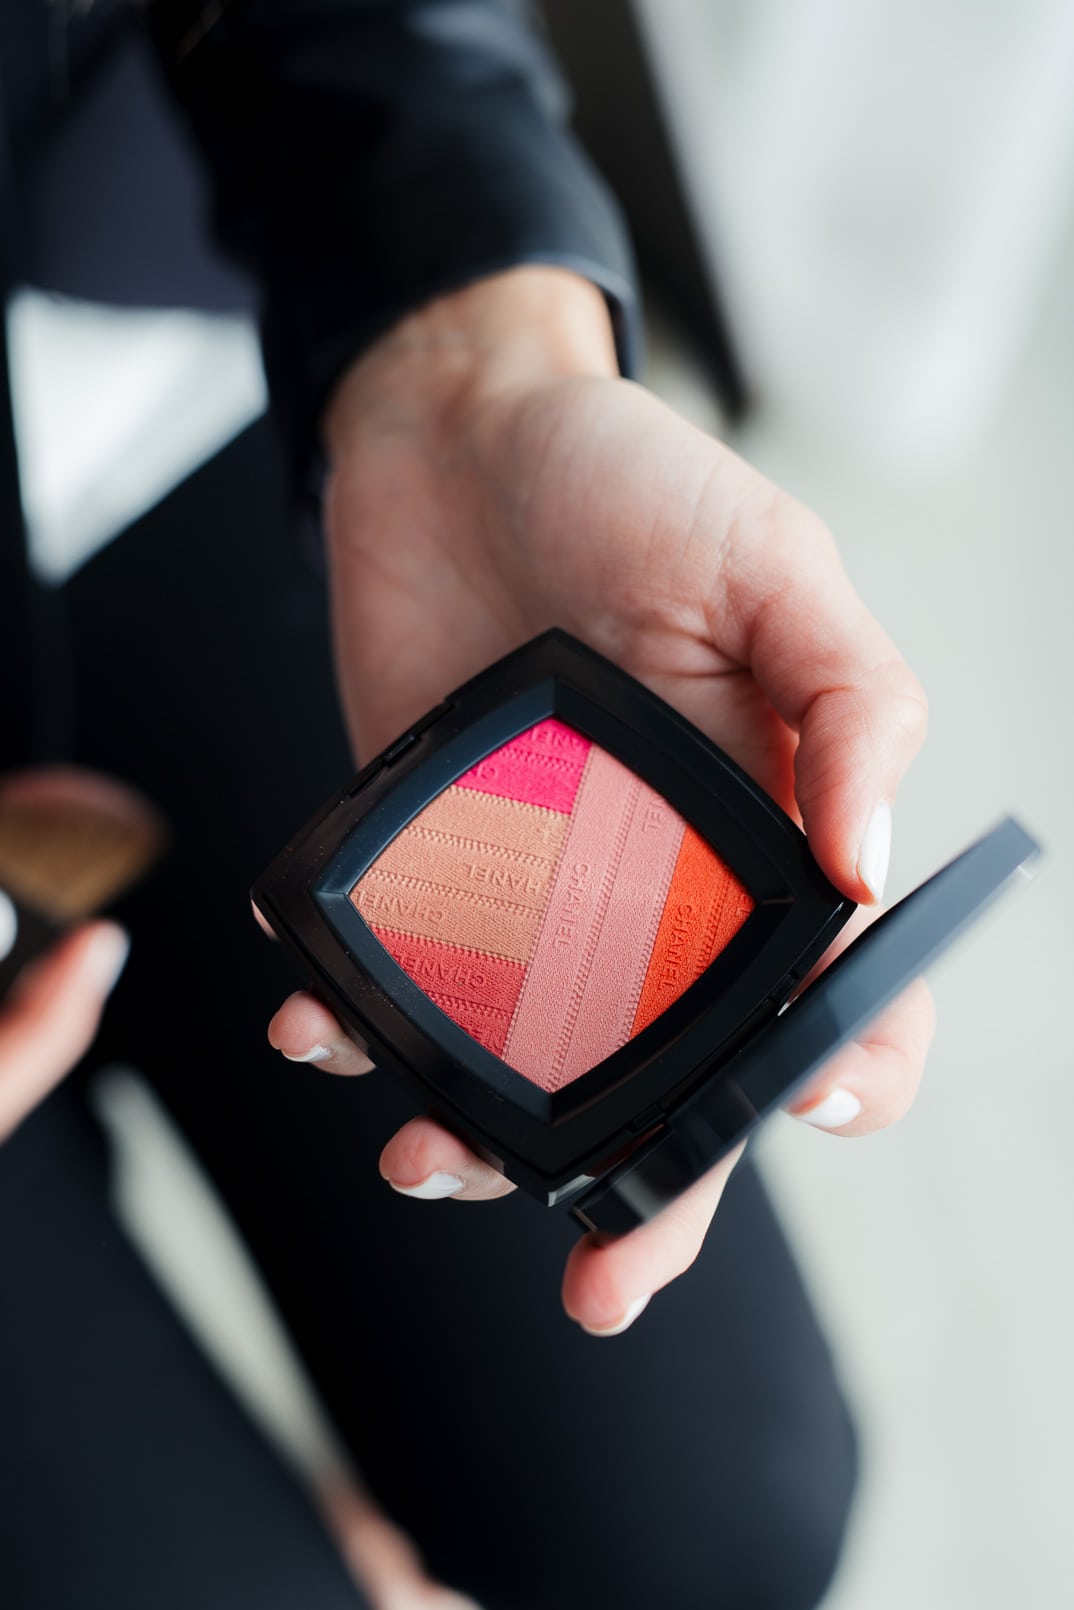
I’m skipping bronzer this time and I’m applying this beautiful blush Sunkiss Ribbon. This product is very popular right now and for a good reason. You can use each color individually or mix them all. I decided to mix them all together.
Decidí no usar bronzeador y sólo me puse el blush Sunkiss Ribbon en las mejillas. Me encanta este blush porque puedes un solo tono o mezclarlos todos.
Step 5 – Lips:
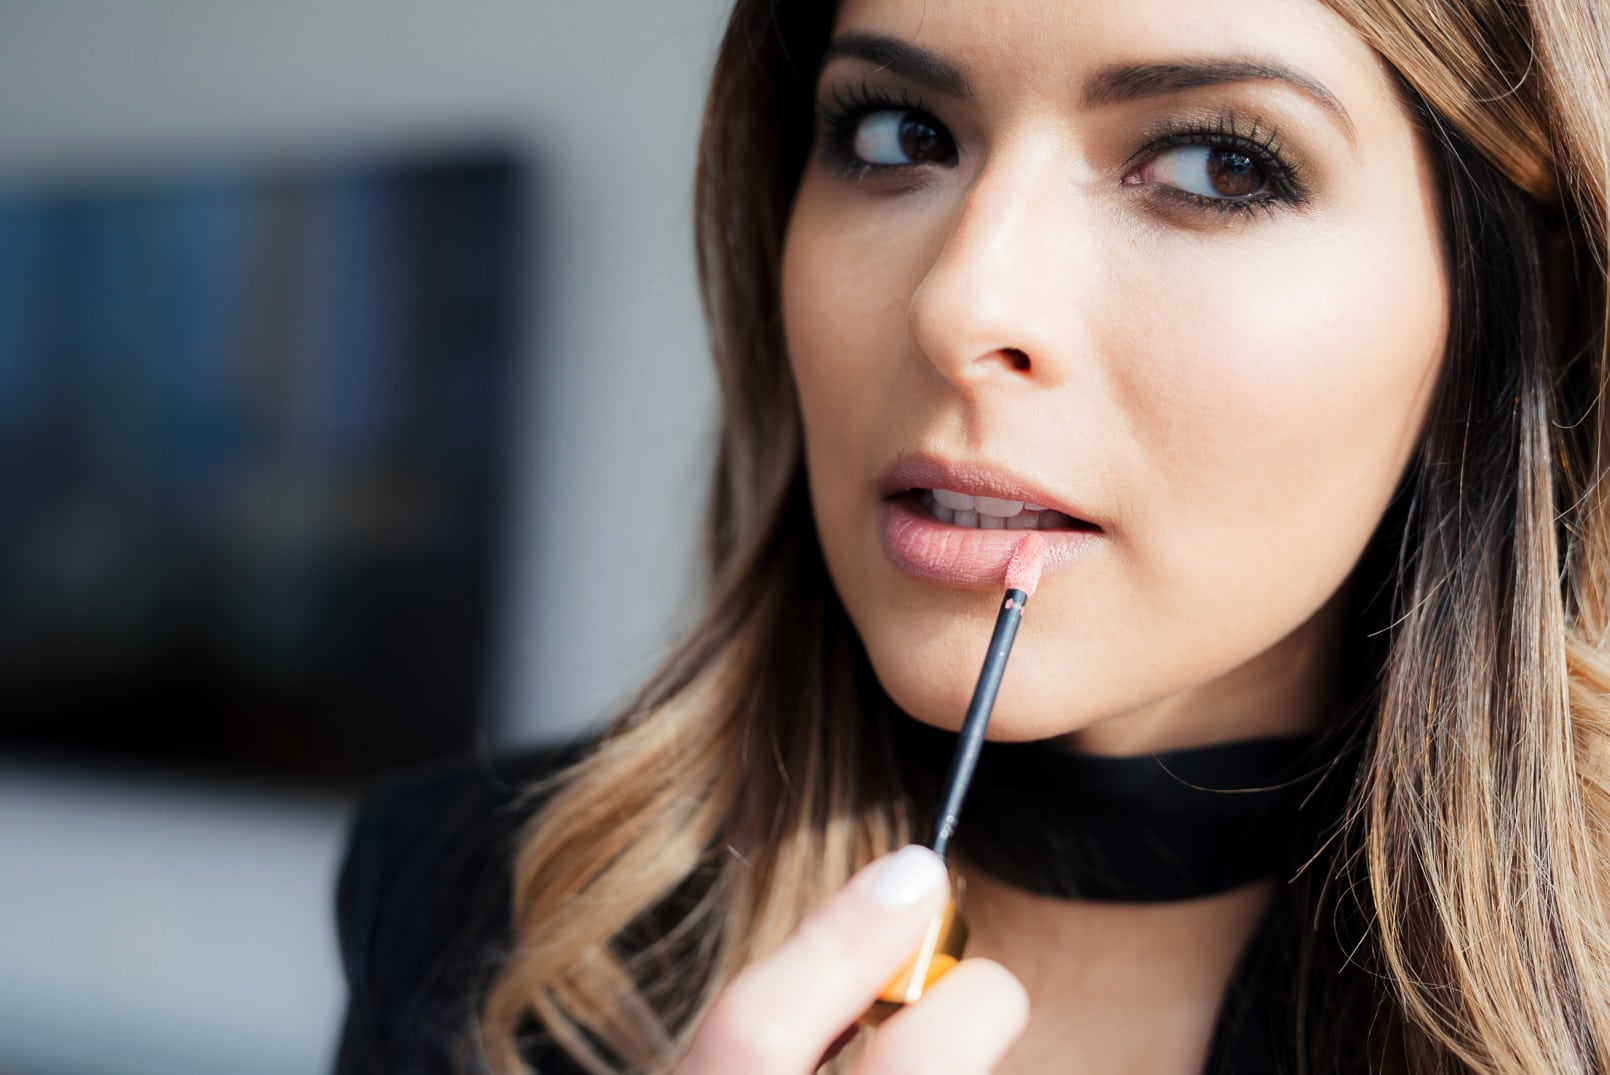
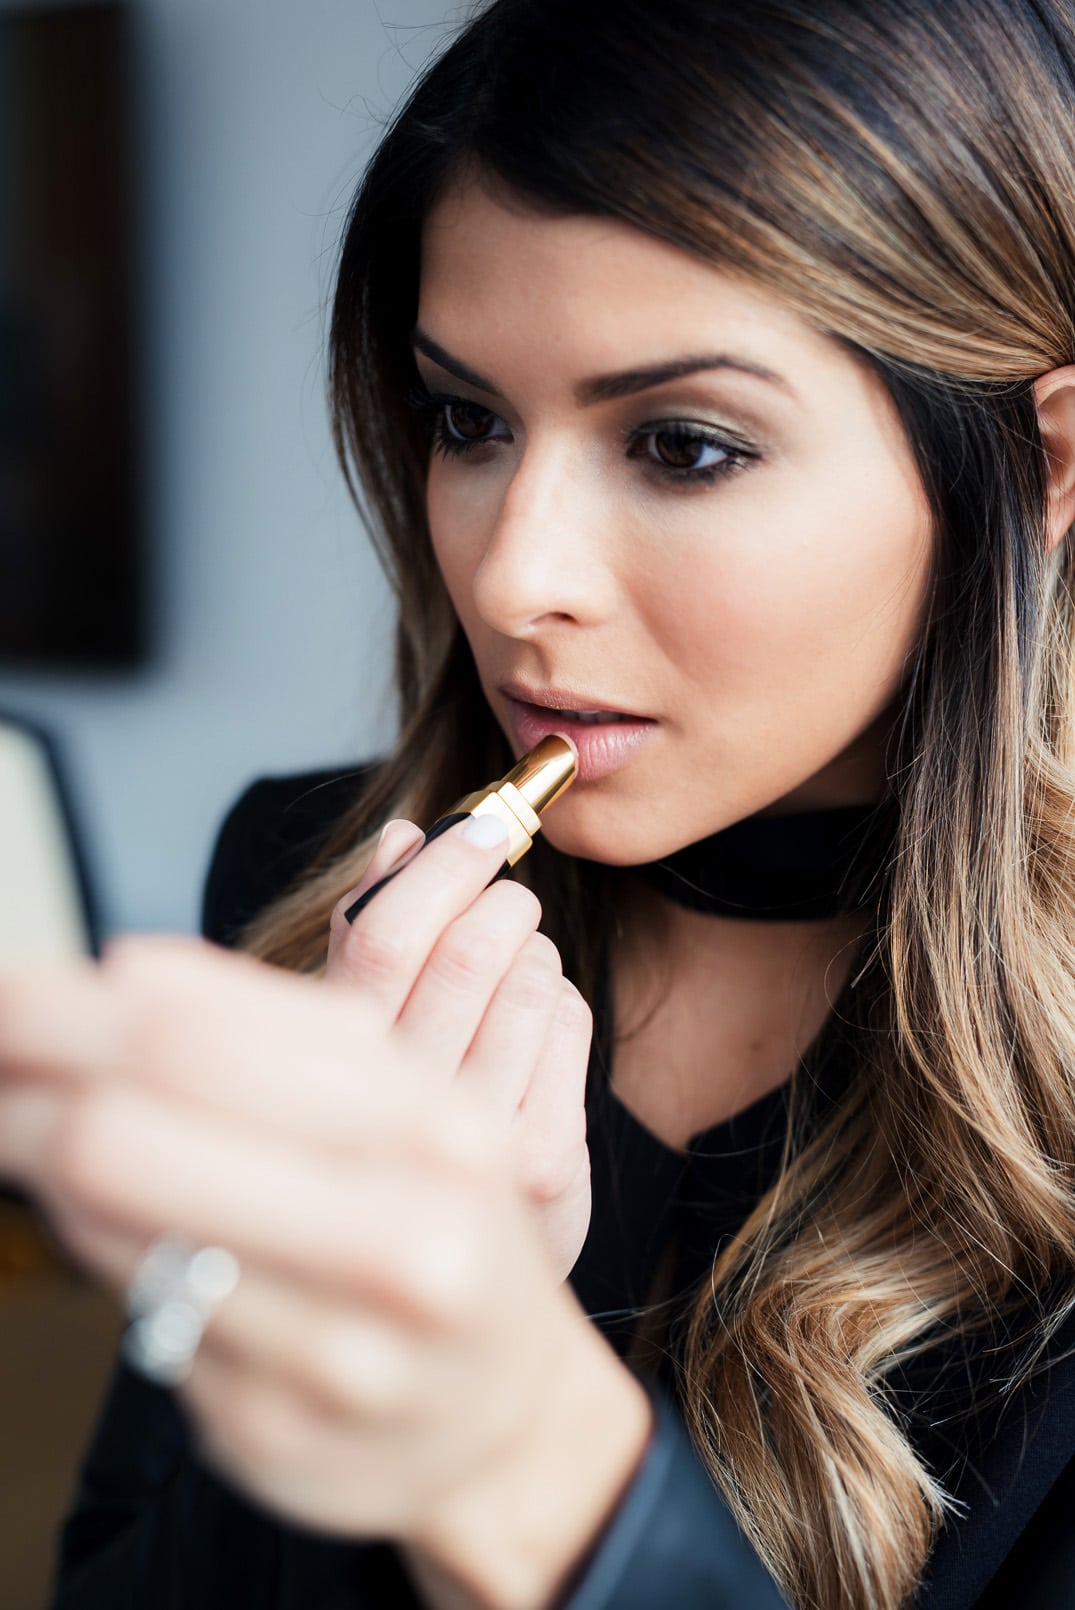
The last step is the most important step! Lips! I applied a hydrating balm right before I did my makeup to keep my lips soft. In this tutorial, I’m using a beautiful nude lip, Rouge Coco Shine in Satisfaction and to finish up, I applied a little bit of gloss. I used the Rouge Allure Gloss in #22.
El último paso es el paso más importante! Los labios. Me puse un bálsamo hidratante justo antes de empezar para mantener mis labios suaves. En este tutorial, estoy usando el lipstick Rouge Coco Shine in Satisfaction y para finalizar, apliqué un poco de brillo, Rouge Allure Gloss in #22.
Let me know what you think in the comments below.Hope you’re able to recreate this look for Valentine’s Day…xo, Pam
Shop The Post
*In collaboration with CHANEL.
Photos: Regan Cleminson
Location: The Envoy Hotel Boston.

