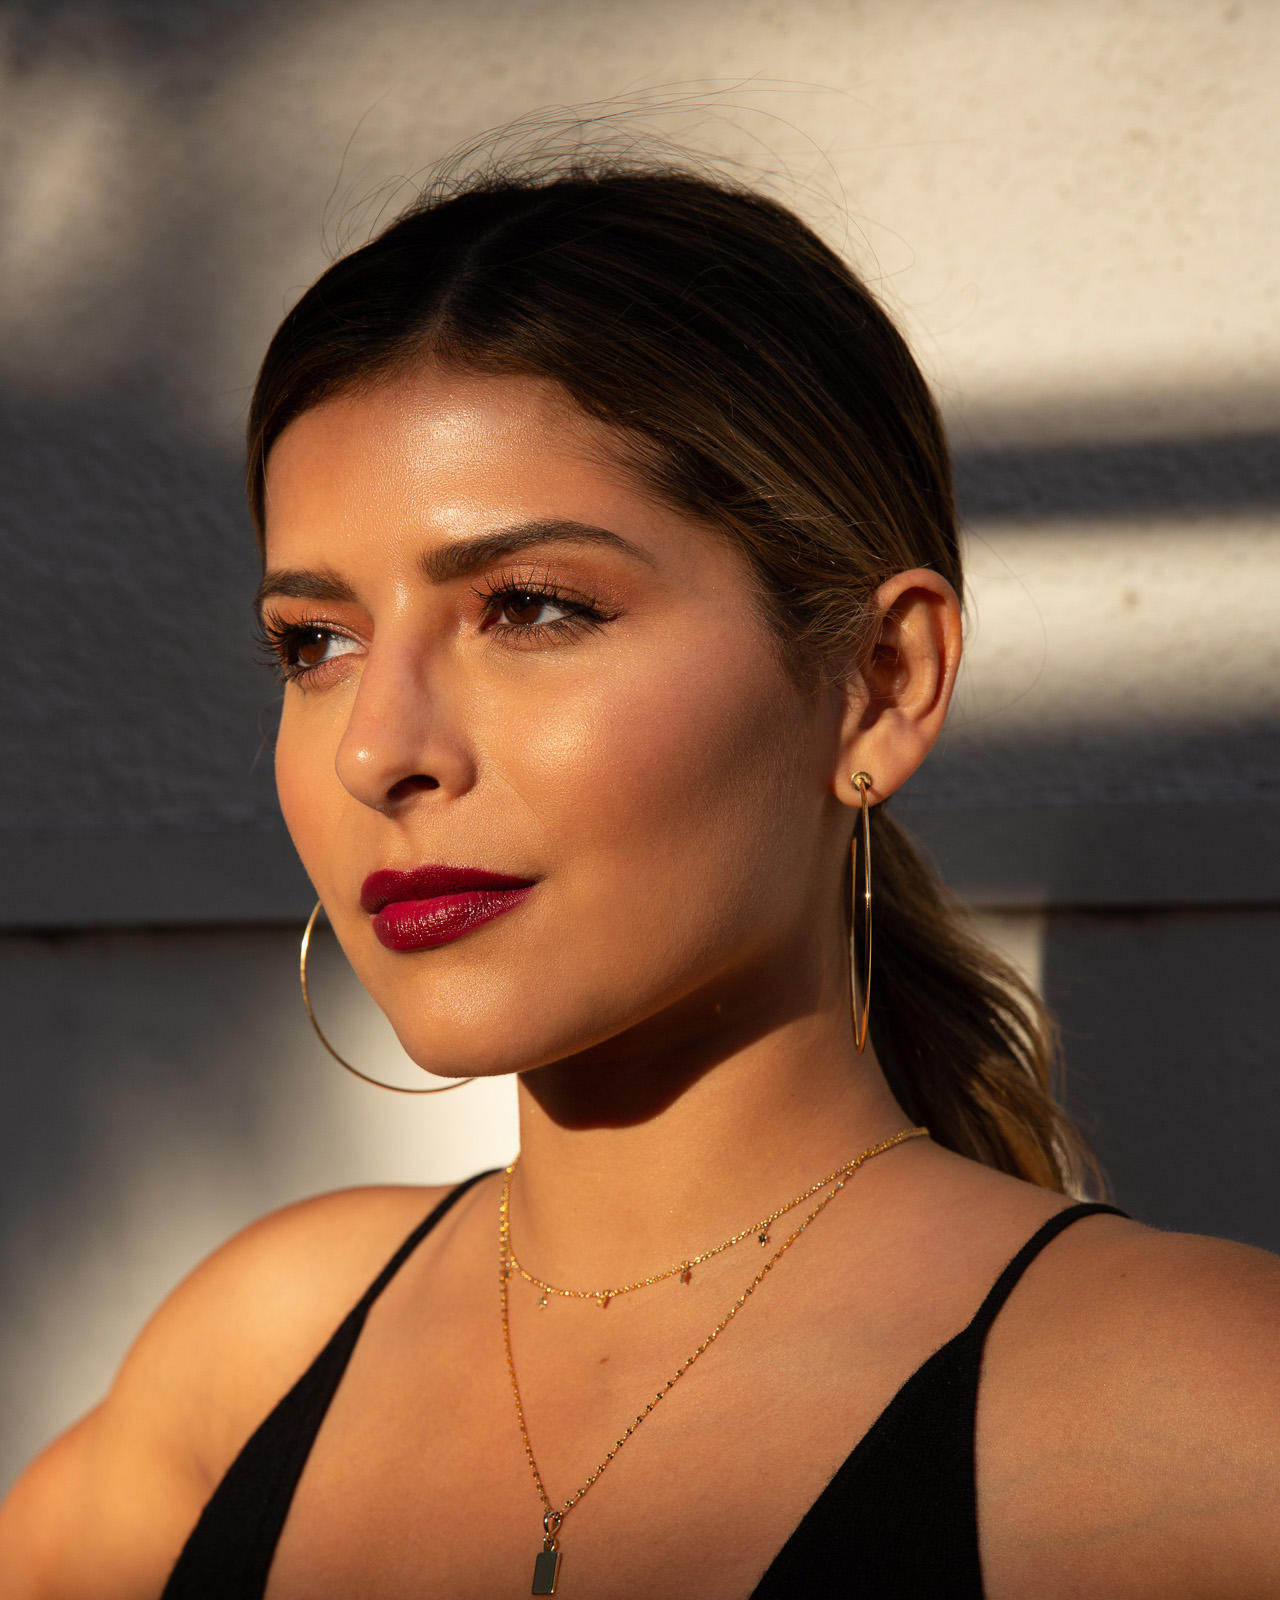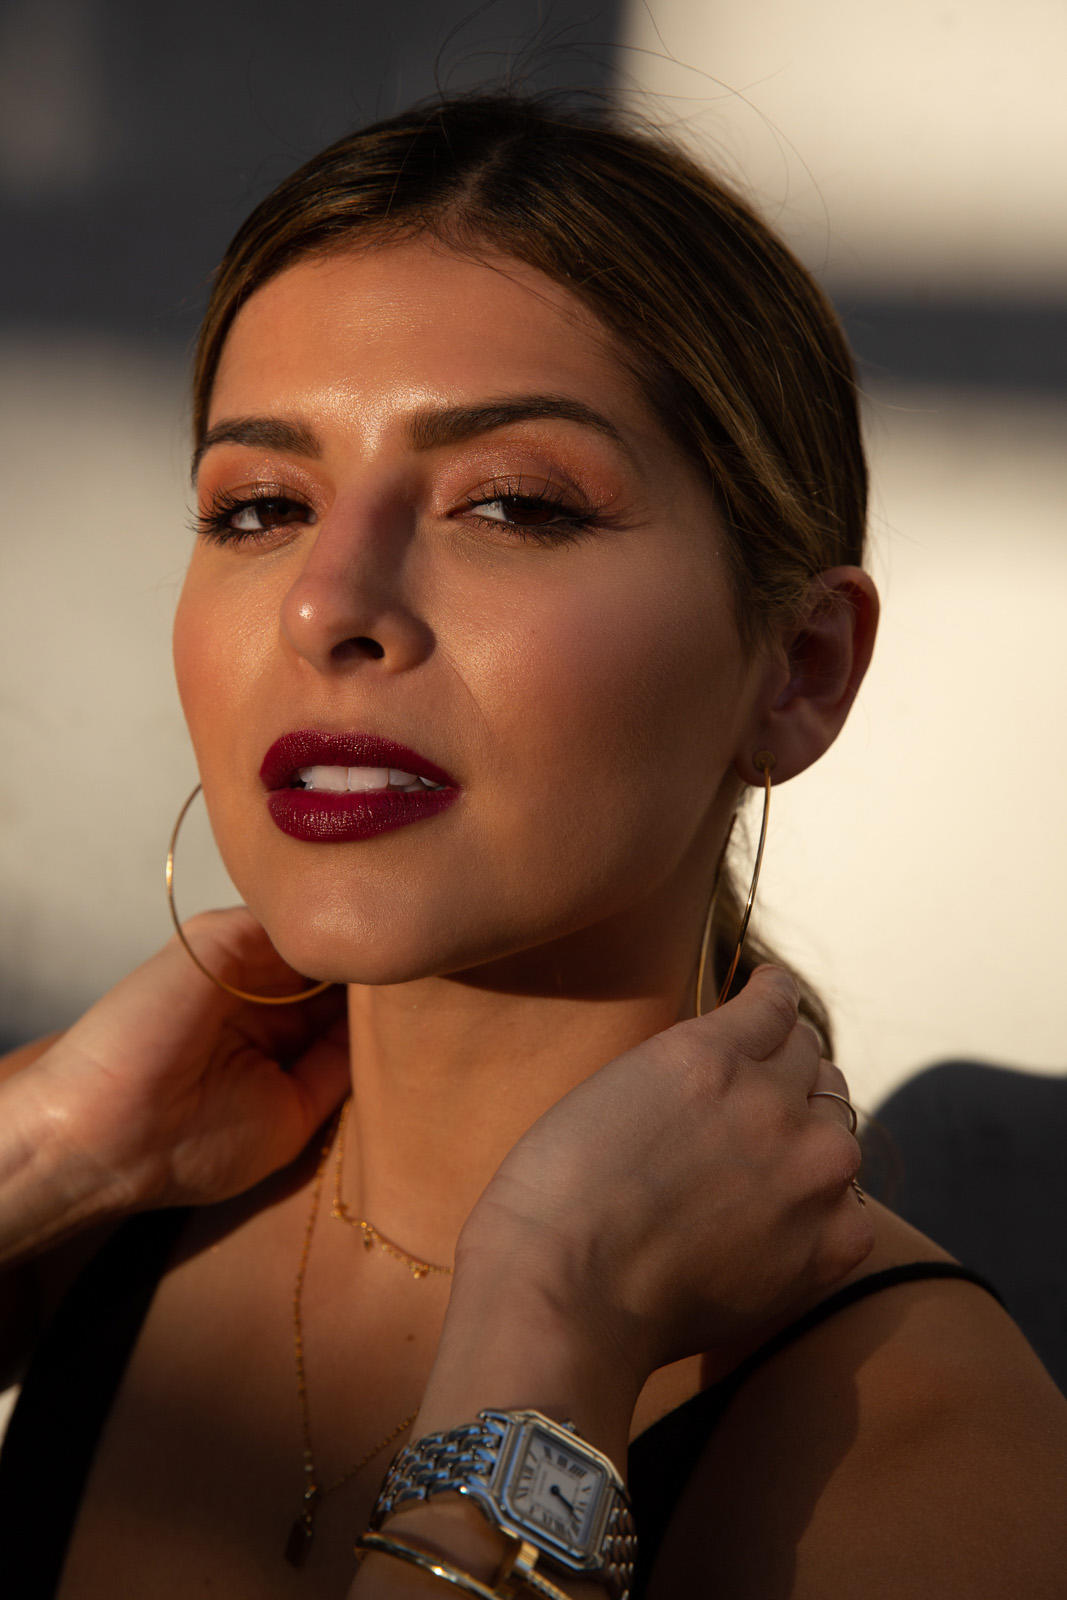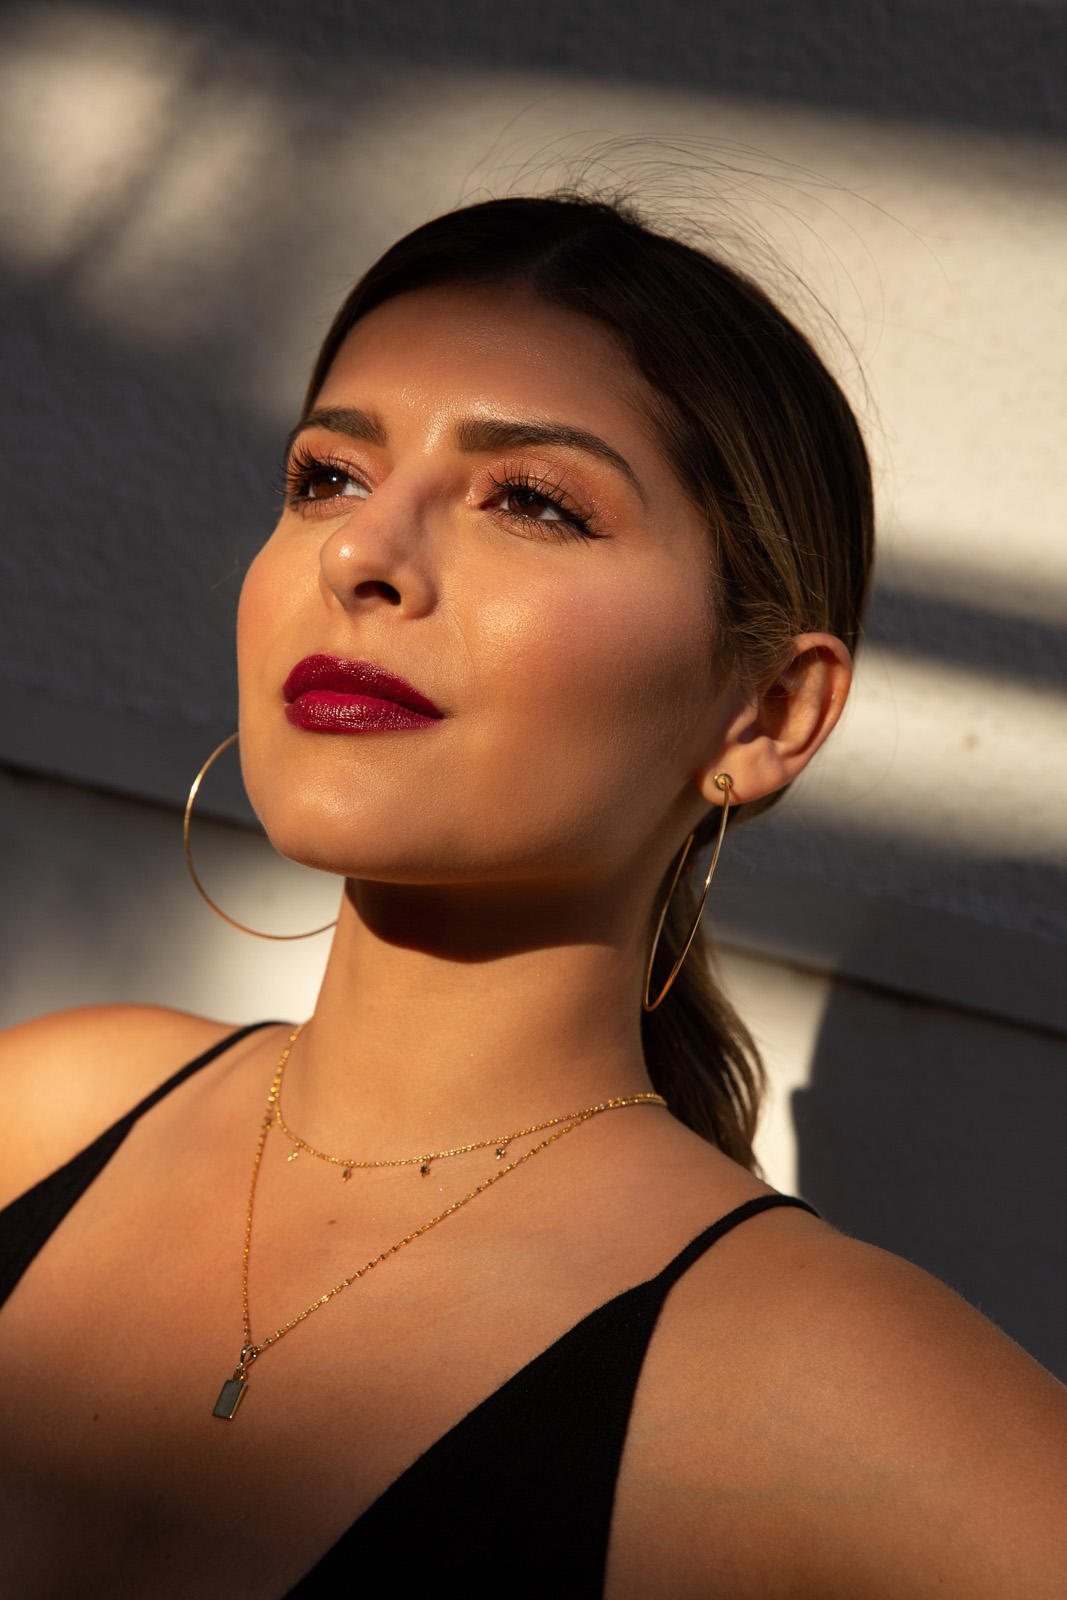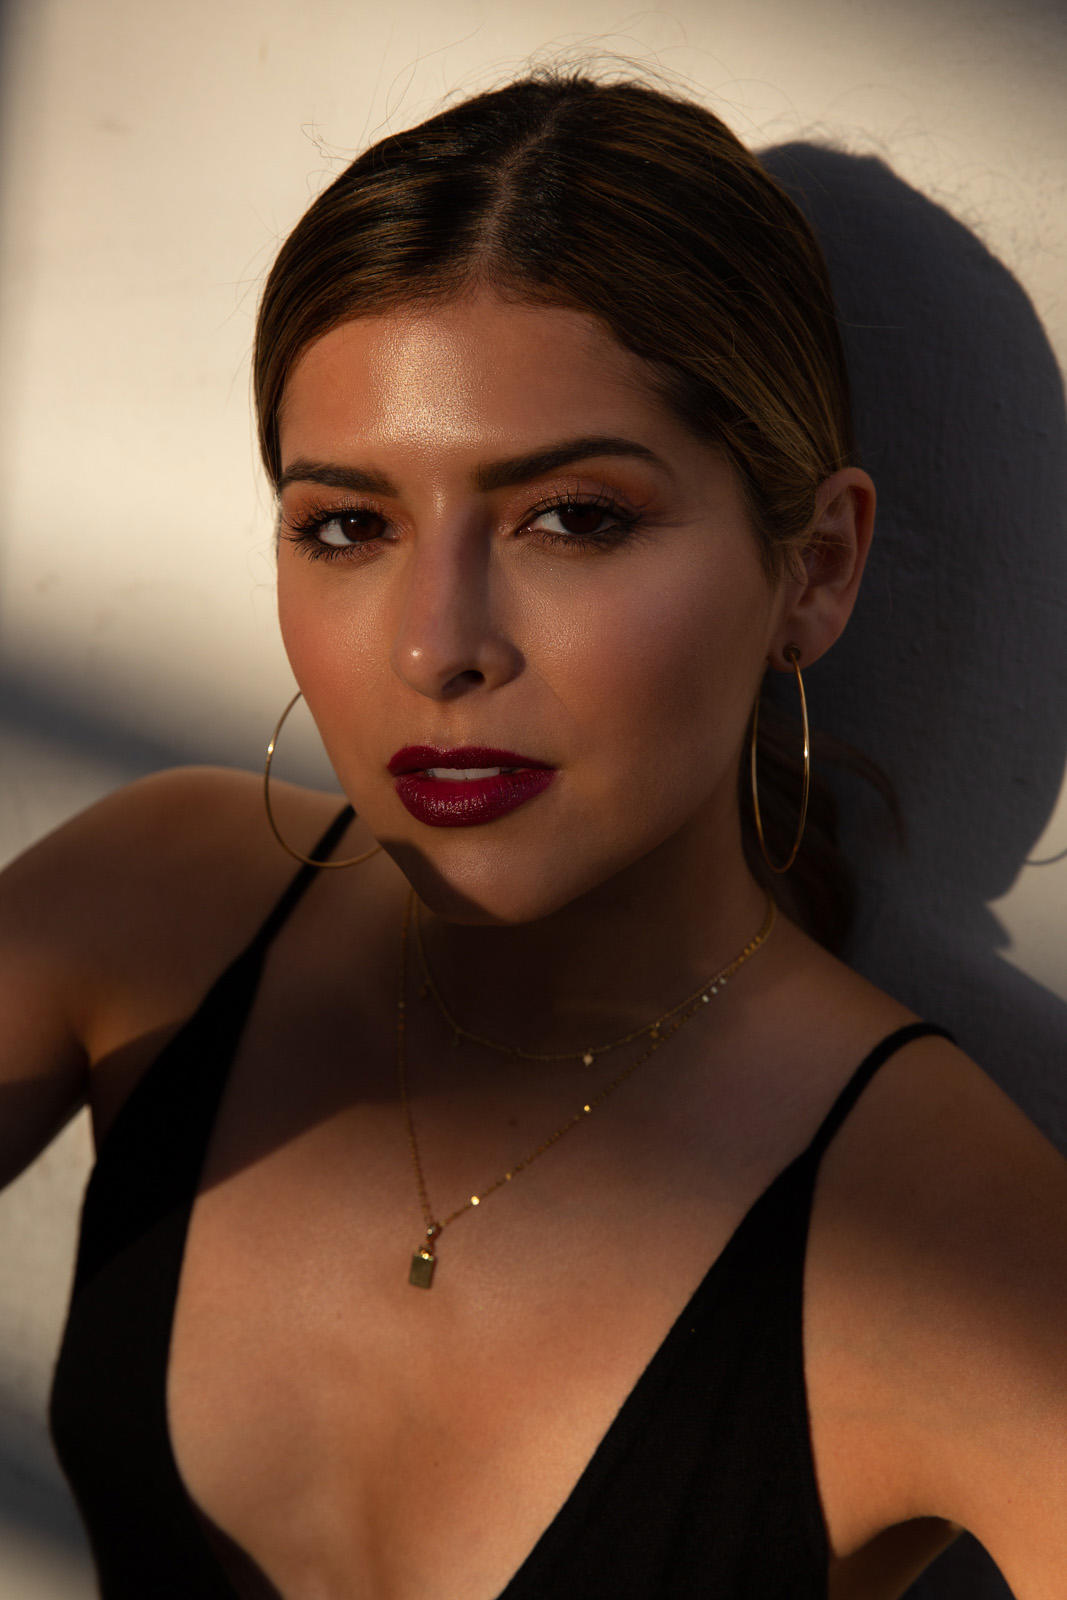
Highlighting and contouring is no new subject to the blogosphere. If you’re on Instagram or Youtube, chances are you’ve seen more tutorials than one can count. I typically wouldn’t write about this kind of thing due to its popularity. However, after my Armani trip to The Hamptons, I felt so inspired by the new techniques I learned from the brilliant makeup artists in the Armani masterclasses. I have been using them since and love the final effect. I’m going to be sharing those tricks with you, so you can achieve better cheekbones. Here’s how to highlight and contour like a pro:
Shop The Post
The Technique
So we all know that the purpose of highlighting and contouring is to add dimension to the face by making your cheekbones pop and skin glow. It also helps create the illusion of a slimmer face. As a general rule of thumb, dark, contour colors make areas recede and highlight colors bring features forward.

Step 1: Foundation
The first step before adding dimension to your face is to even out your complexion. You start that by applying a foundation of your choice. My go-to is the Armani Luminous Silk Foundation. The texture is weightless and easy to blend. You’ll end up with blurred imperfections. I learned in The Hamptons that you can get the most natural effect by applying it with your fingers and mixing two shades. At this time, I also like to apply my concealer – love this one by Laura Mercier!
Step 2: Highlight
One of my favorite tips that I picked up is to apply highlighter immediately after foundation. Most people like to apply their contour first, but reversing the steps will give you the most natural look. I personally feel that highlighter can sometimes be too strong during the day, but I can get away with it using this technique.
Highlighter should be placed on the high points of your cheeks, nose bridge, and cupid’s bow. I don’t apply highlighter all the way down my nose bridge because it can look too intense. I usually concentrate it on the tip of my nose and between my eyes where the bridge starts.
Shop Highlighters

Step 3: Contour
After highlighter comes the contour. Some prefer powder while others prefer a cream texture. I like both – it just depends on the day, but some of my favorites are by Tom Ford, Armani, and Nars. You want to push and blend the product into the hollows of your cheeks, along the jawline and temples. Make sure that it’s well blended by using the right tools such as a beauty blender or fluffy brush.
Shop Bronzers
Step 4: Blush
The last step is blush because that’s how you tie the highlight and contour together. You want to apply blush to the apples of your cheeks and then blend up and out. The key is to take your time blending so that everything looks seamless. Then, step back and look in the mirror to make sure everything looks smooth. This will help you determine if you need more color or more blending.
Shop Blushes
That’s basically how I highlight and contour. It’s super easy and fast to do. What are some of your tips for highlighting and contouring?


